02/28/25 A brief explanation of Helicon Focus, and possible errors

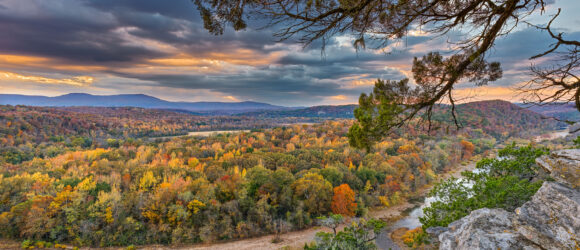
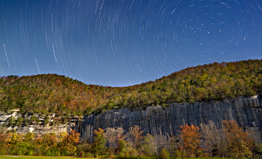
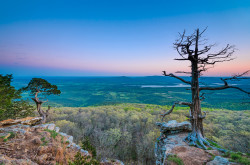
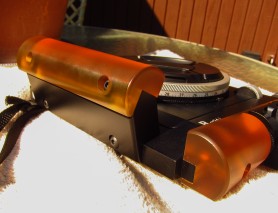
Final from Hasselblad X2D Focus Bracket Peter Cave Bluff
This image was created with a Hasselblad X2D, using the camera’s focus bracketing setting. This allows the camera to take multiple photographs of the same subject, and only moves the focus point. So in this case, the camera will take images from infinity all the way to the rocks on the foreground. It’s impossible to manually combine this many photographs with different focal points, however with software like Helicon Focus, you can. I wrote a very detailed post on the process of creating this image here: https://photosofarkansas.com/2025/02/03/02-03-25-focus-bracketing-example-hasselblad-x2d-and-21mm-lens
-
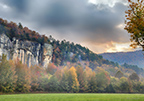
- Helicon Focus errors on image
-
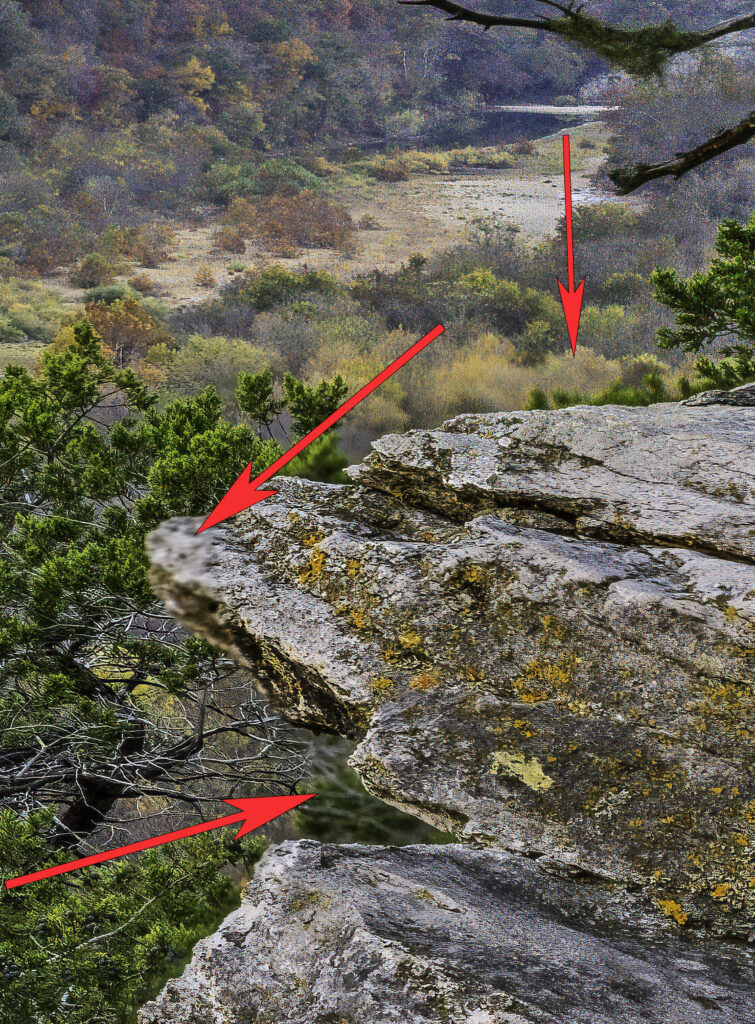
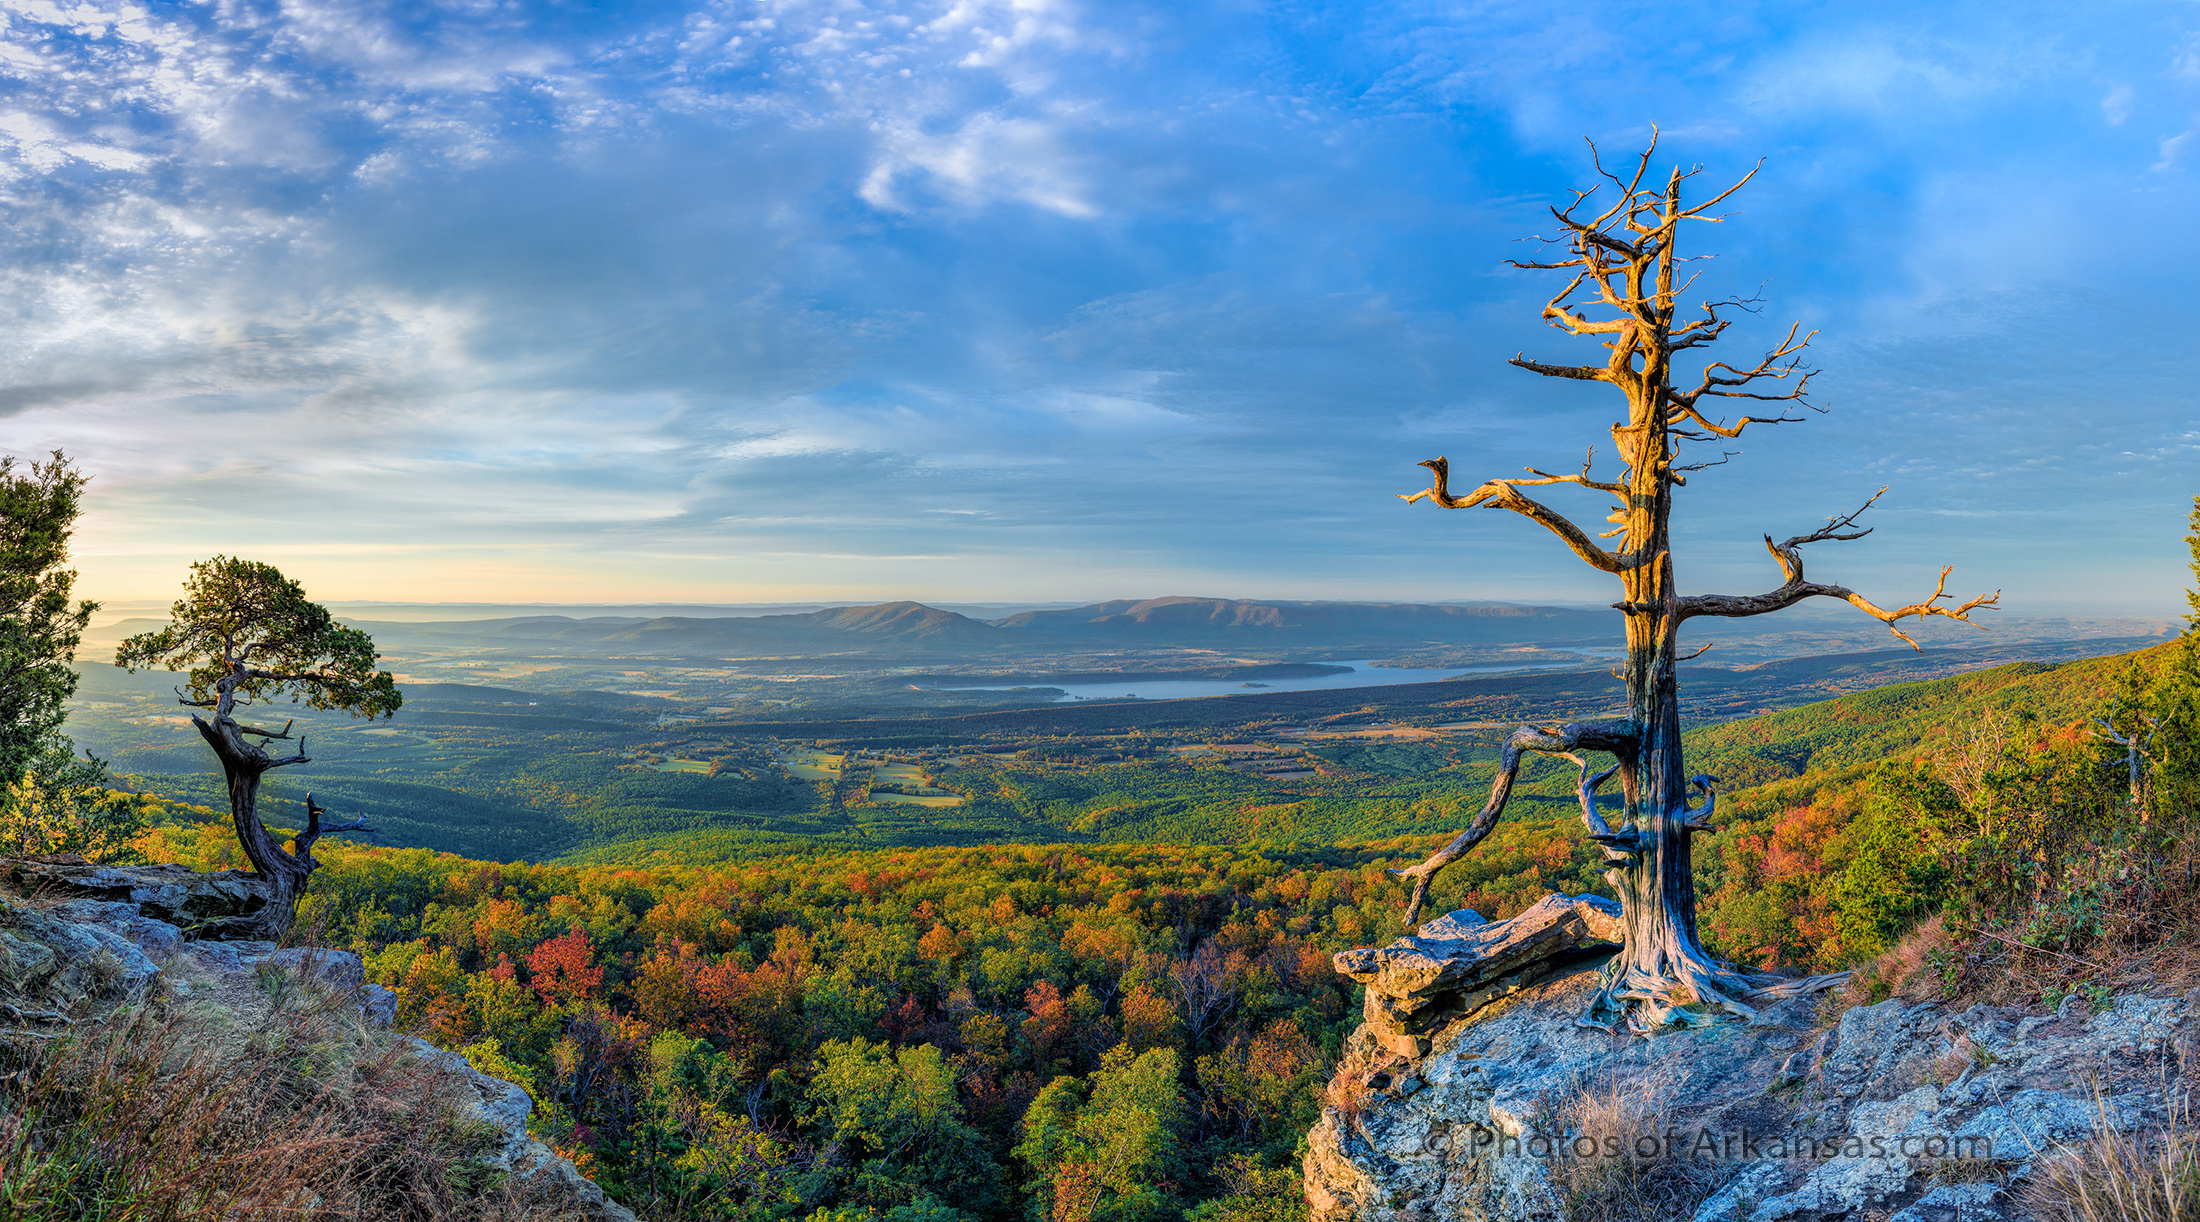
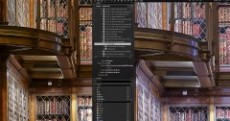
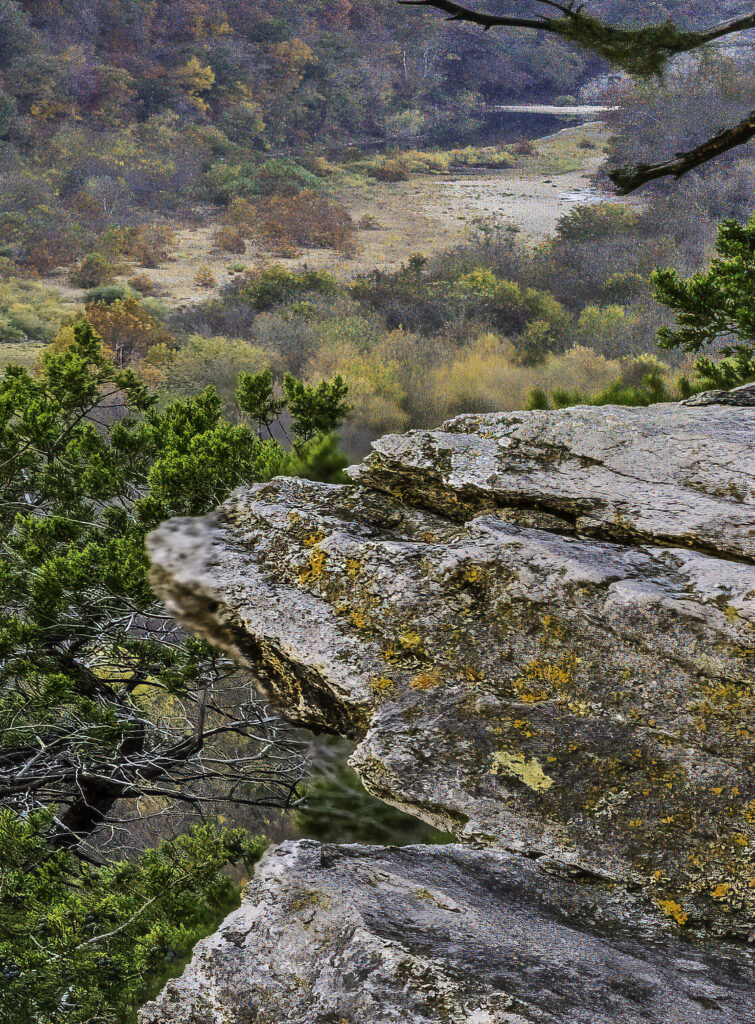
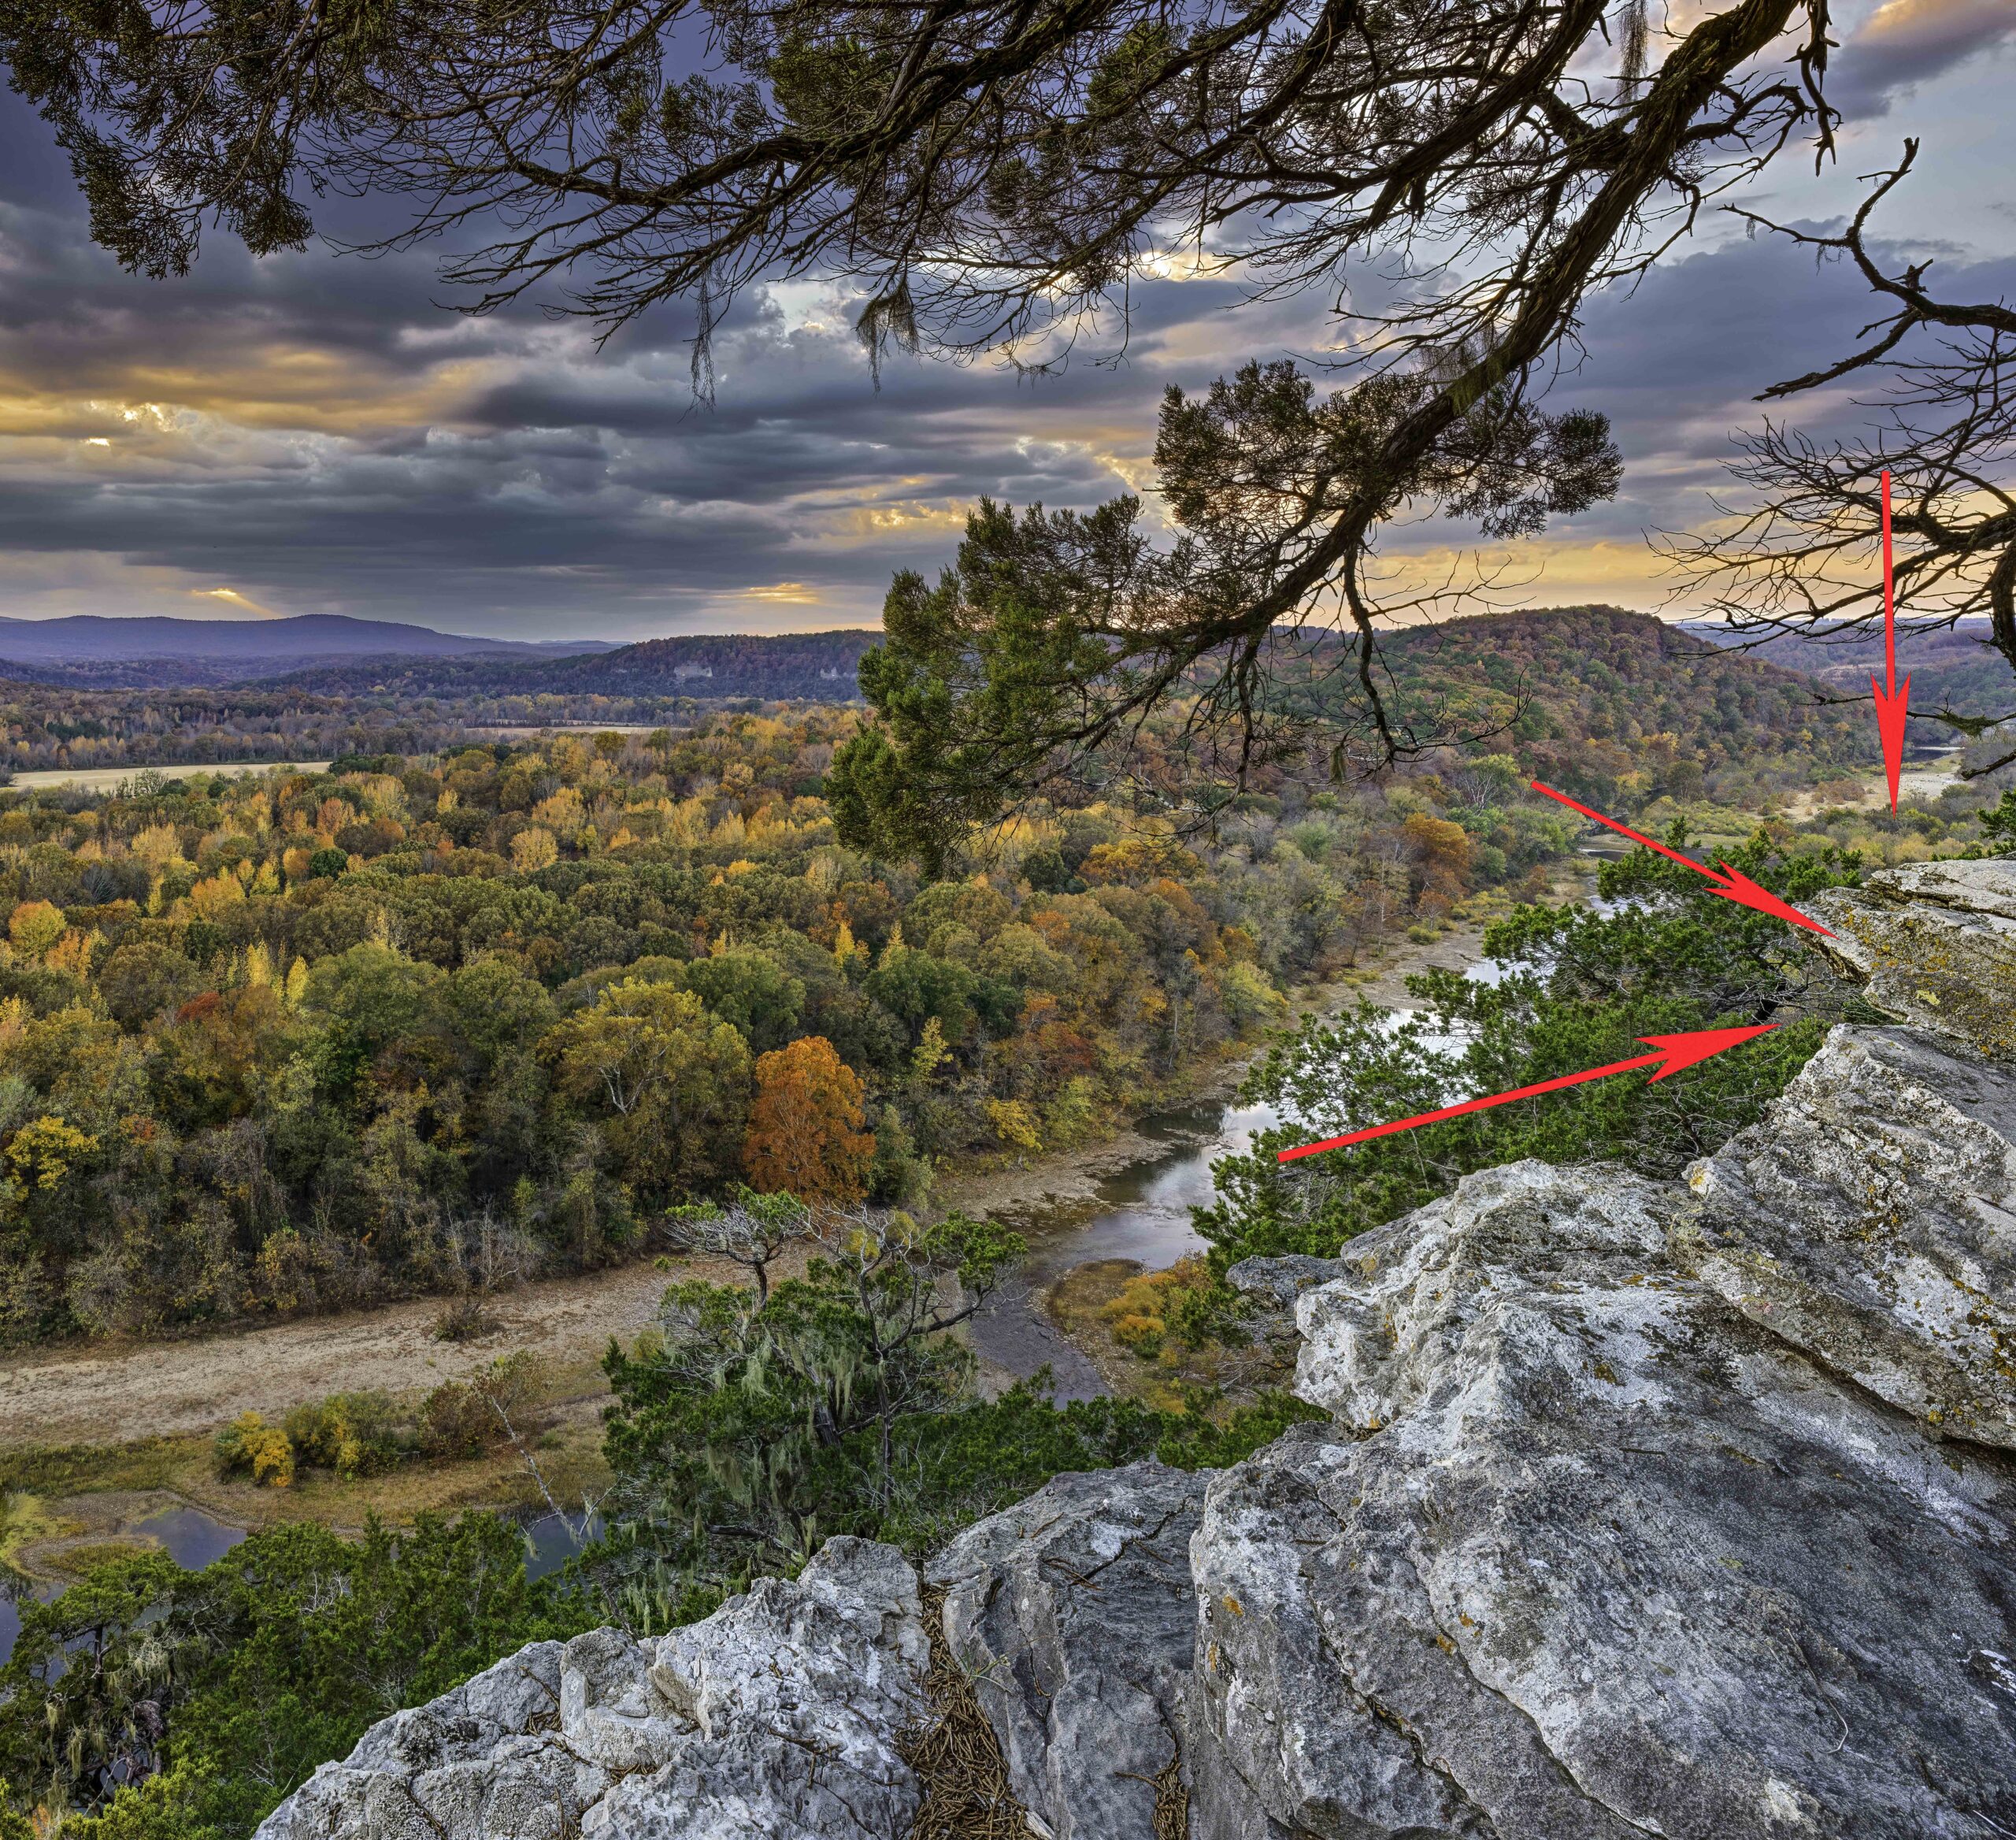
- Errors from First run of Helicon
The image on the right has arrows showing the errors. They are not obvious at first, especially if you are only looking at this image in a screen view, or a jpg. However it’s a 100MP image and when you zoom into it, these errors now start to be more obvious.
With Helicon, you load in your images, and then select one of three “rendering” method. I usually use option B, set to the Helicon defaults. NOTE, you can change these defaults, but make sure you remember the true defaults that the program started with. Once you change them they stay where you set them, even if close and reload the program. This can be problematic for a later set of images as most times the program defaults are what you need.
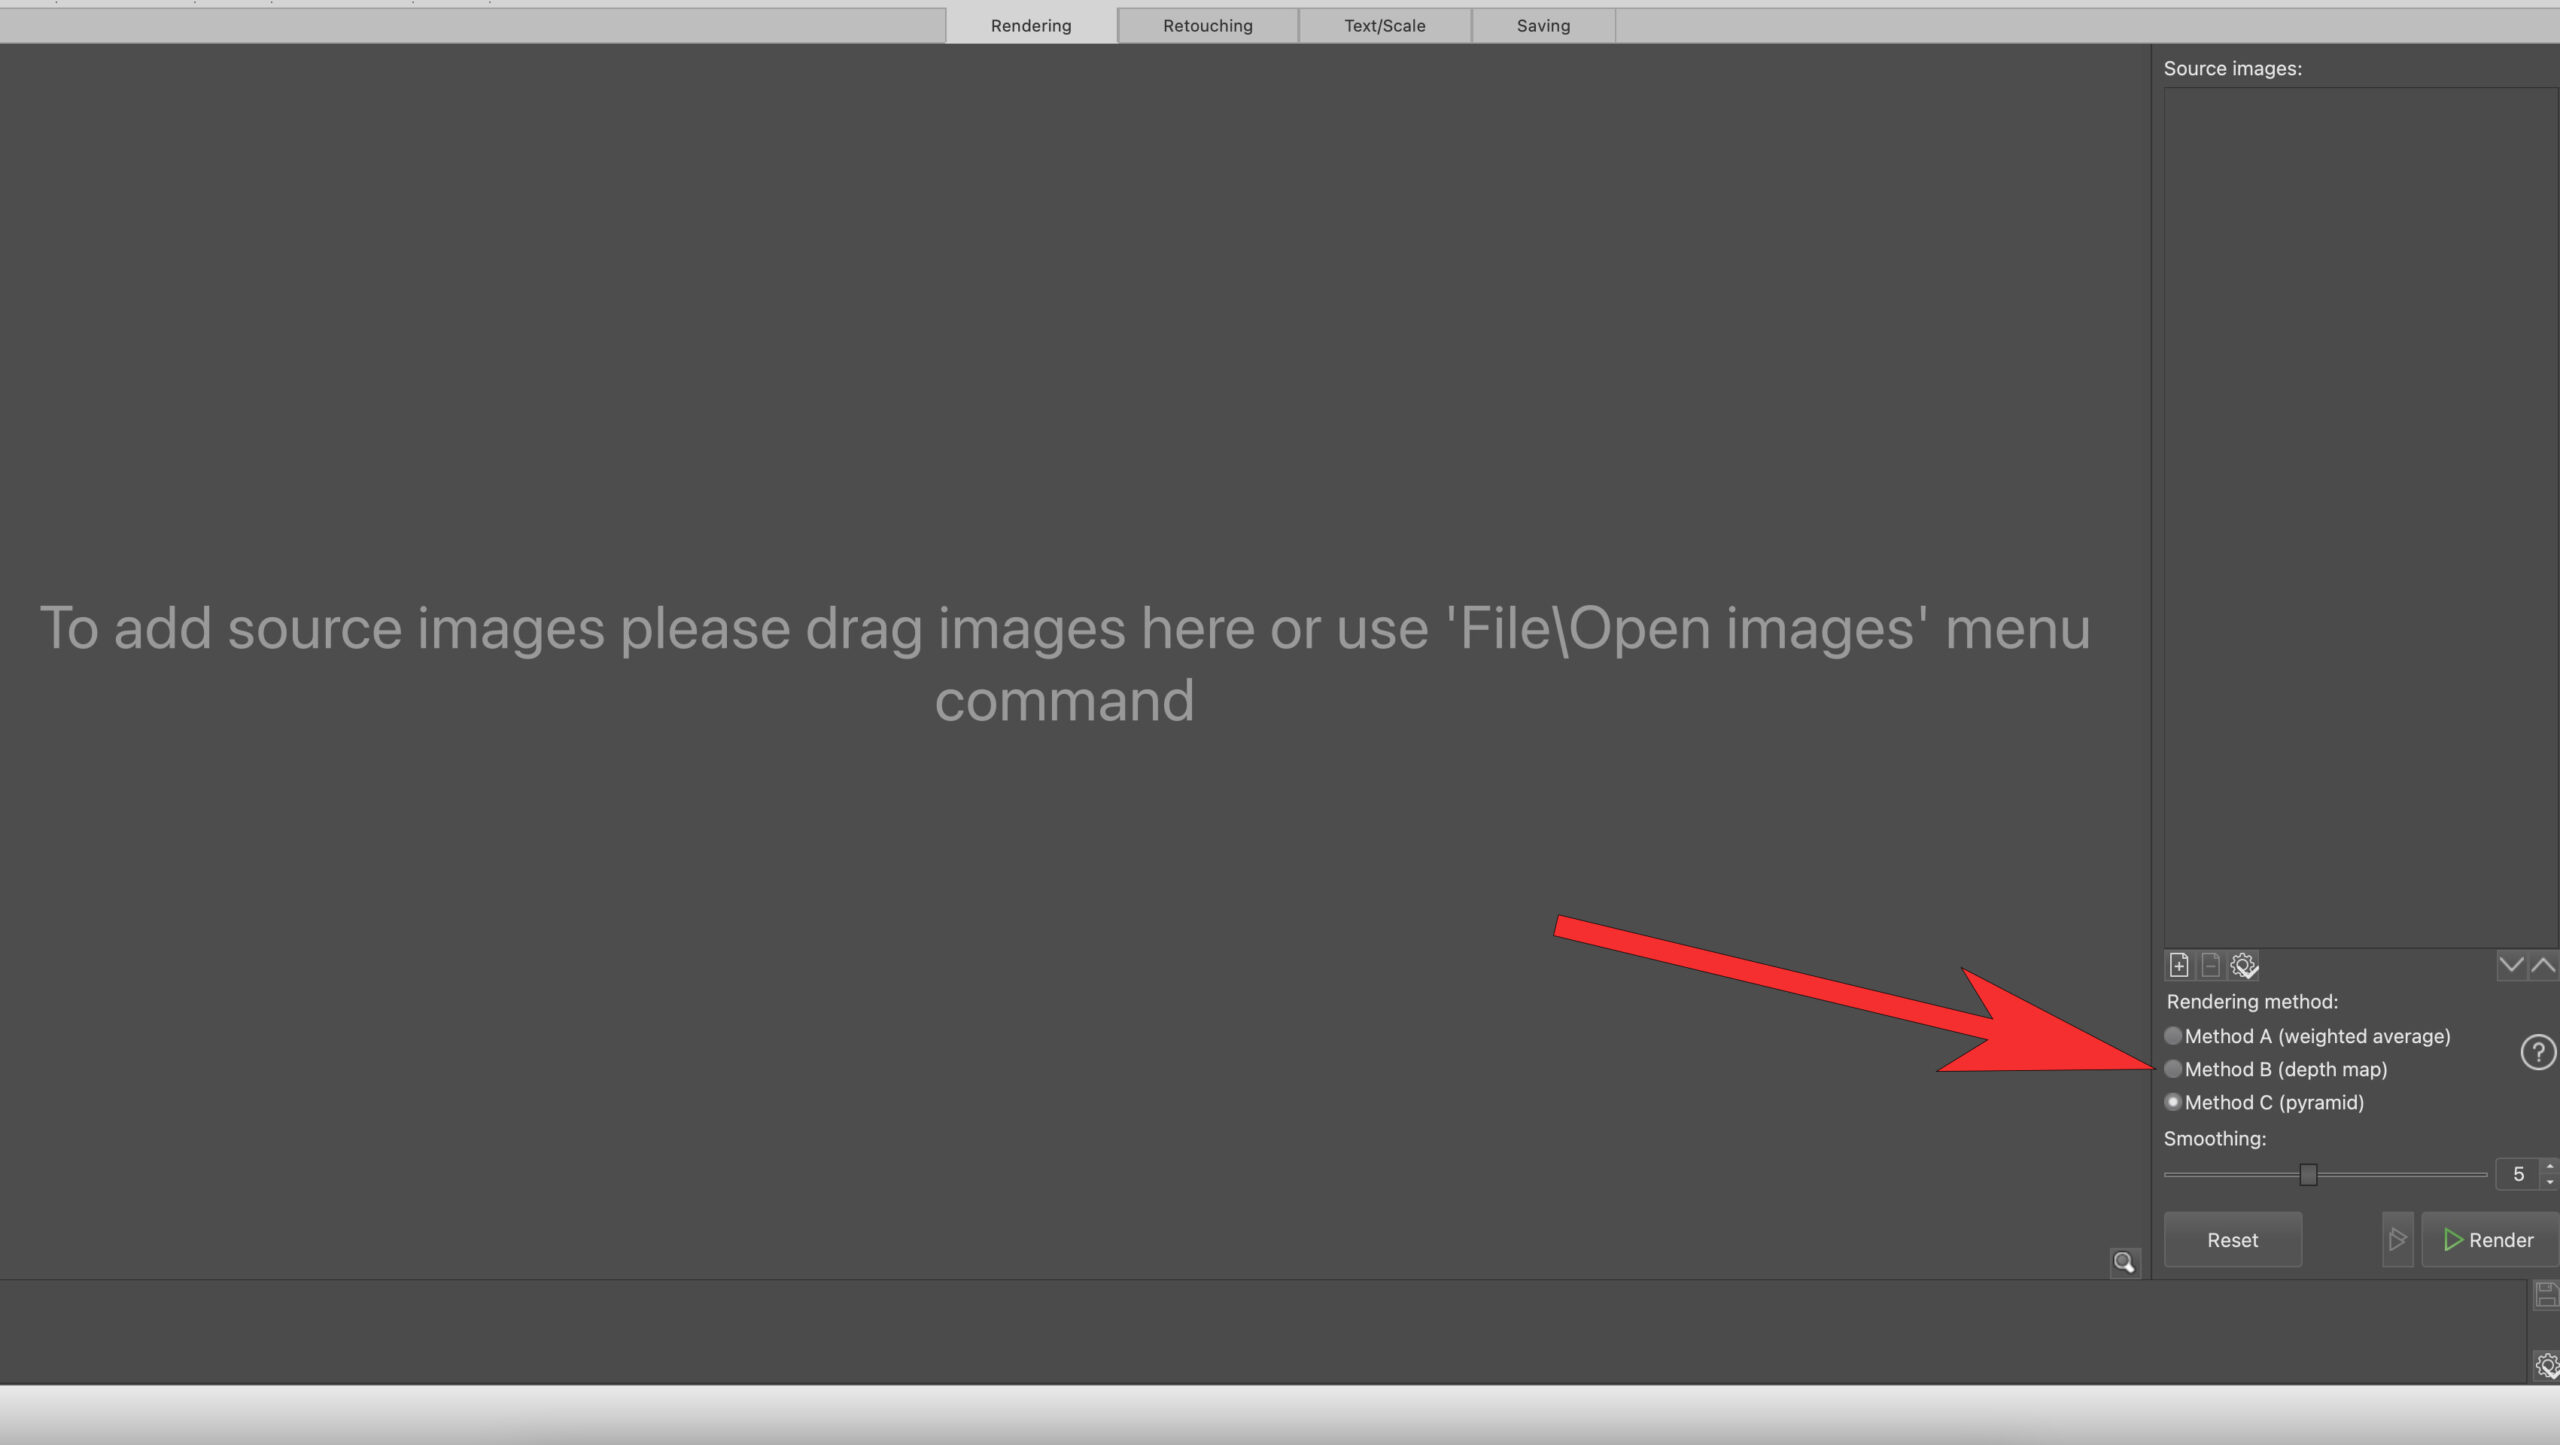
Screenshot of Helicon Focus Main screen
This is a quick screenshot of the main Helicon Focus page. Note the three different methods listed in the lower right corner.
My first thoughts were to just re-load the 7 images and try option B again. Upon doing this the same errors occurred, so I tried Option C and this time I was able to get a perfect separation between the rocks and the area in the distance.
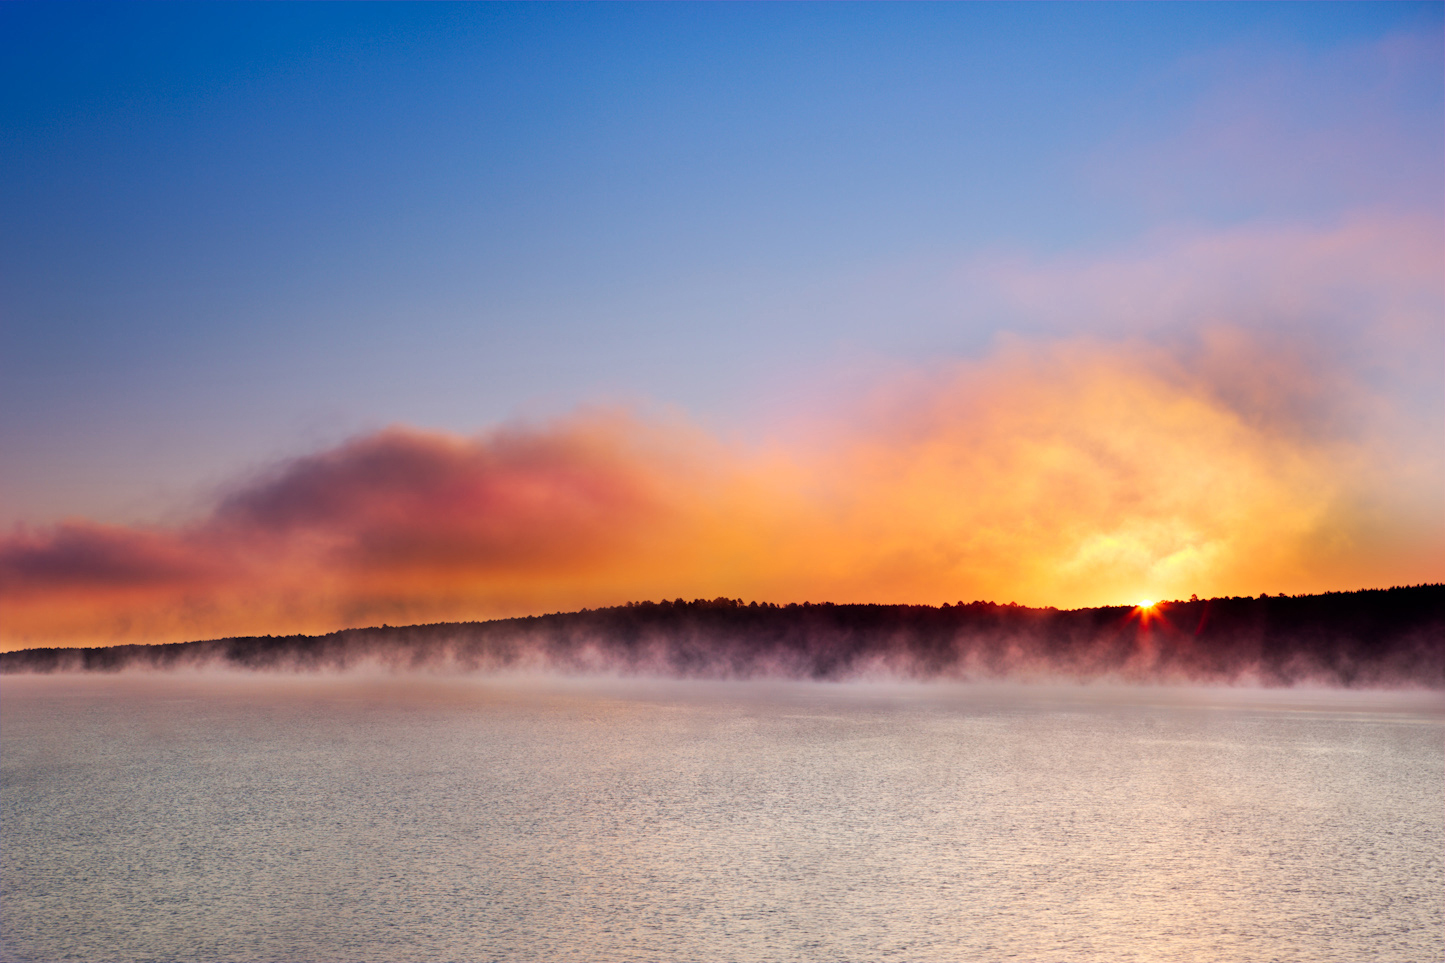
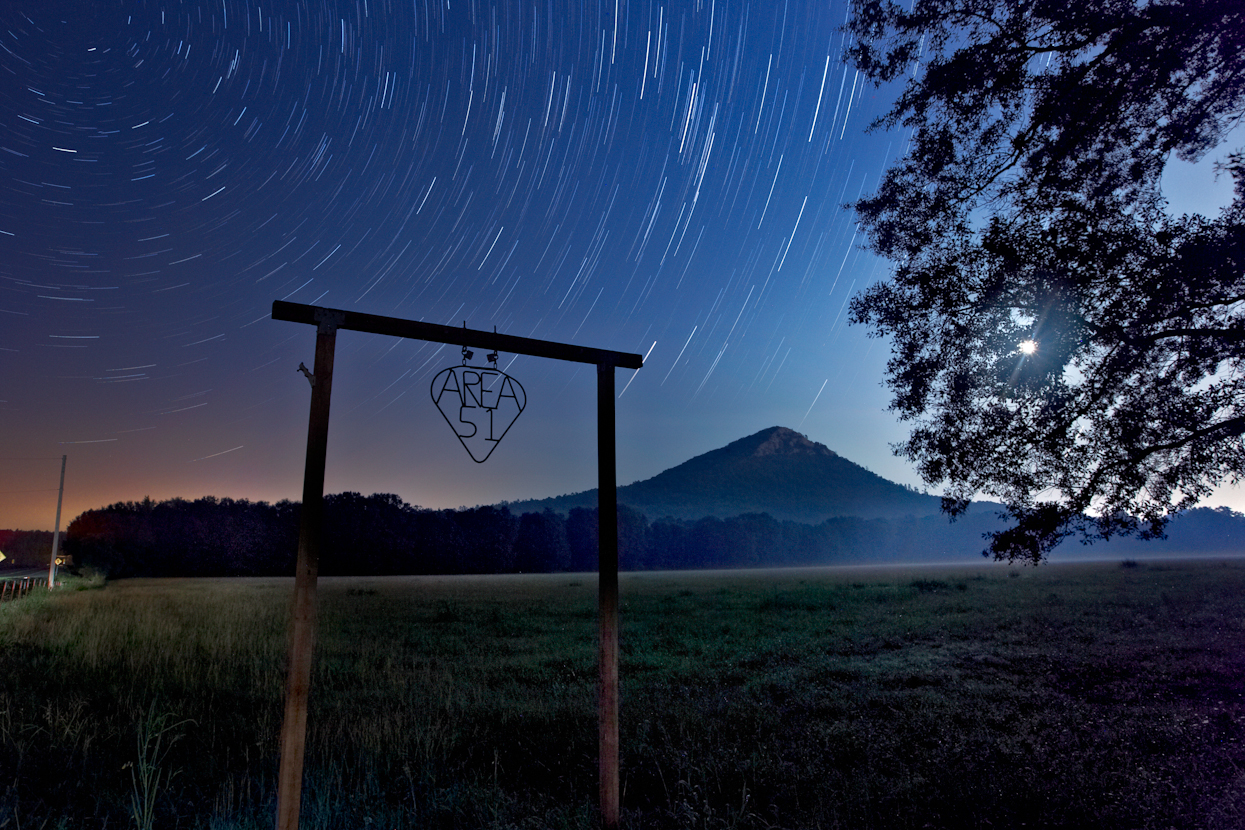
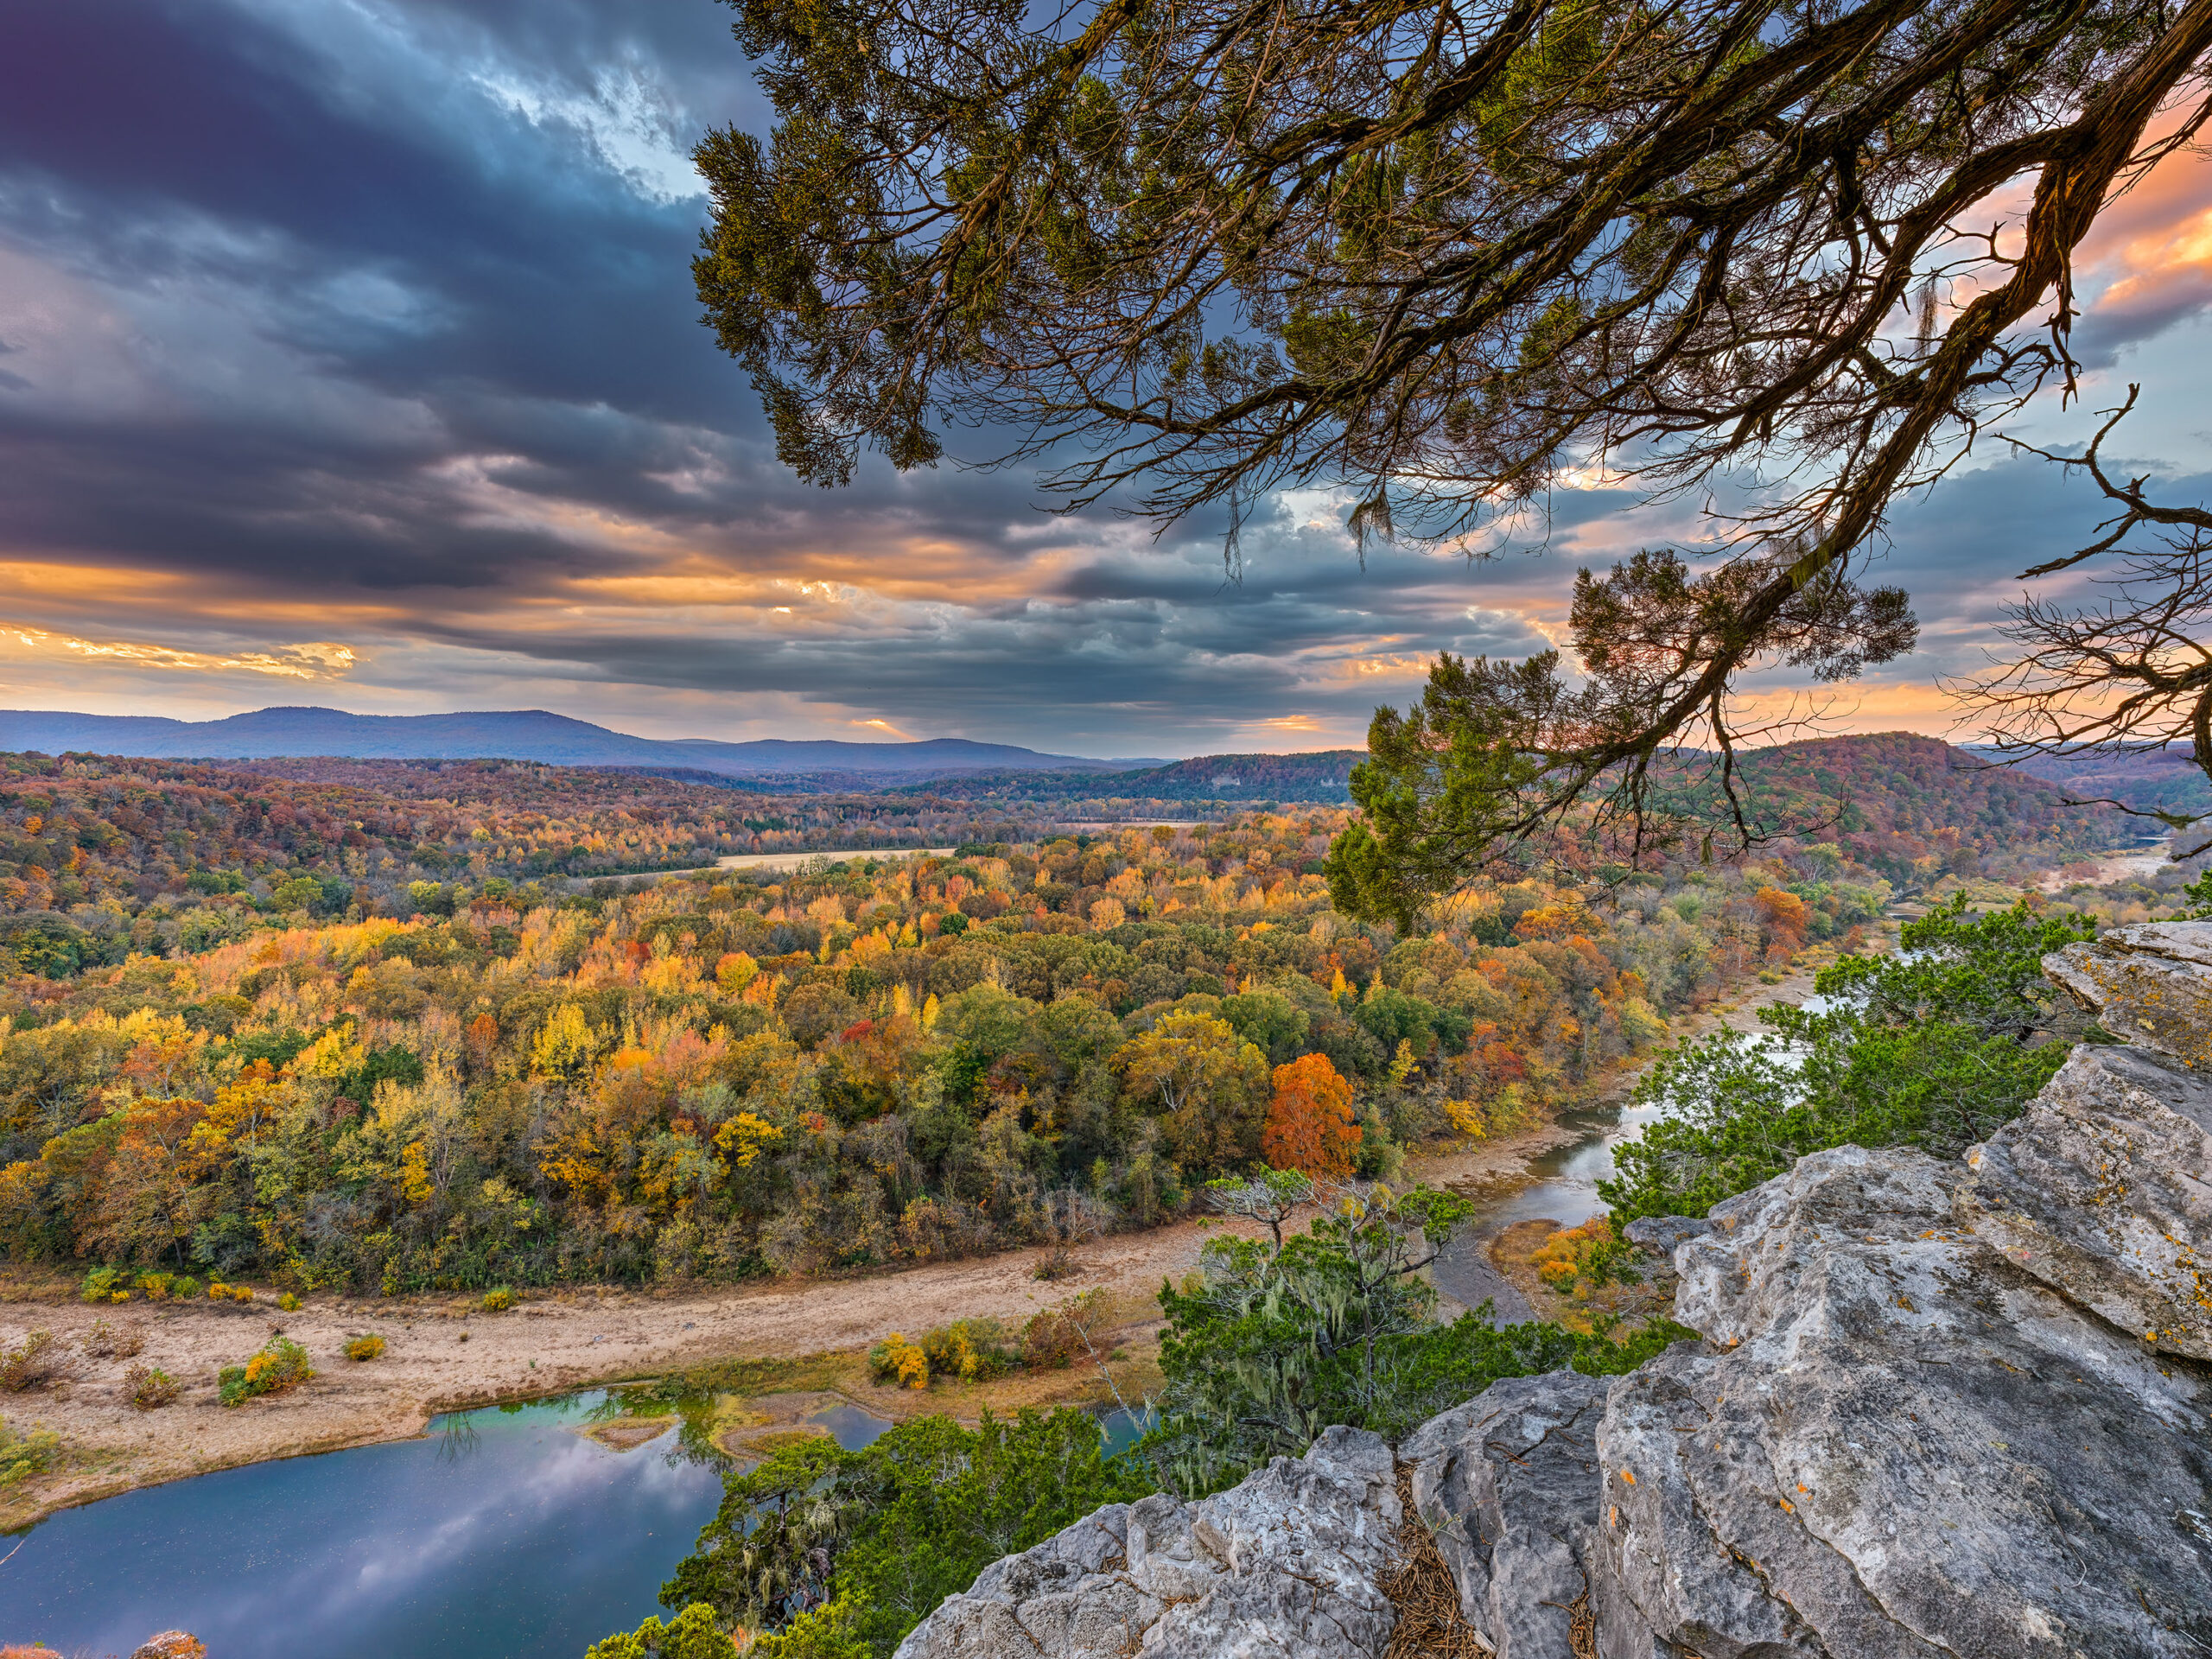
Final view showing fixes
When using Helicon, take make sure you take a few minutes to view the entire image checking to see if any issues with mixed blending occurred. This image was actually a blend of 14 images, 7 were taken for the sky and cedar tree and the remain 7 were taken with exposure set for the foreground and trees in the distance. I was not able to get a single exposure that gave me good shadow recovery and keep the highlights in the sky from blowing out. So I ran 2 sets of 7 images through Helicon and then merged the two. Since I already blended the images with the errors, it was a simple fix to just rework the 2nd set of 7 images with option C and layer the fixed image on top then blend in the correction.
The point of all of this is that if you are only working for TicToc or Instagram use, odds are you would not even notice these errors, but then why would you be using a 100MP camera. My reasoning for 100MP is that I want have the ability to make large prints, and errors such as these would definitely show up in a print larger than 12 x 18.
 From the Blog
- Errors with High Resolution Mode, Panasonic LUMIX S1RII July 4, 2025
- 05/08/25 Capture One, big announcement, at least for portrait photographers May 8, 2025
- 05/03/25 Trump’s Tariffs finally start to hit Photography Equipment. May 3, 2025
- Firmware 4.1.0 for X2D? April 21, 2025
- 04/18/25–Looks like Trump’s Tariffs are much ado about NOTHING in regard to photography equipment. April 18, 2025
- 04/09/25 Arkansas Sets new standard for Scientific Ignorance with new law for Ivermectin April 4, 2025