02/16/25 Using Adobe Generative Fill to remove lens flare–Example an X2D image with 20-35 lens

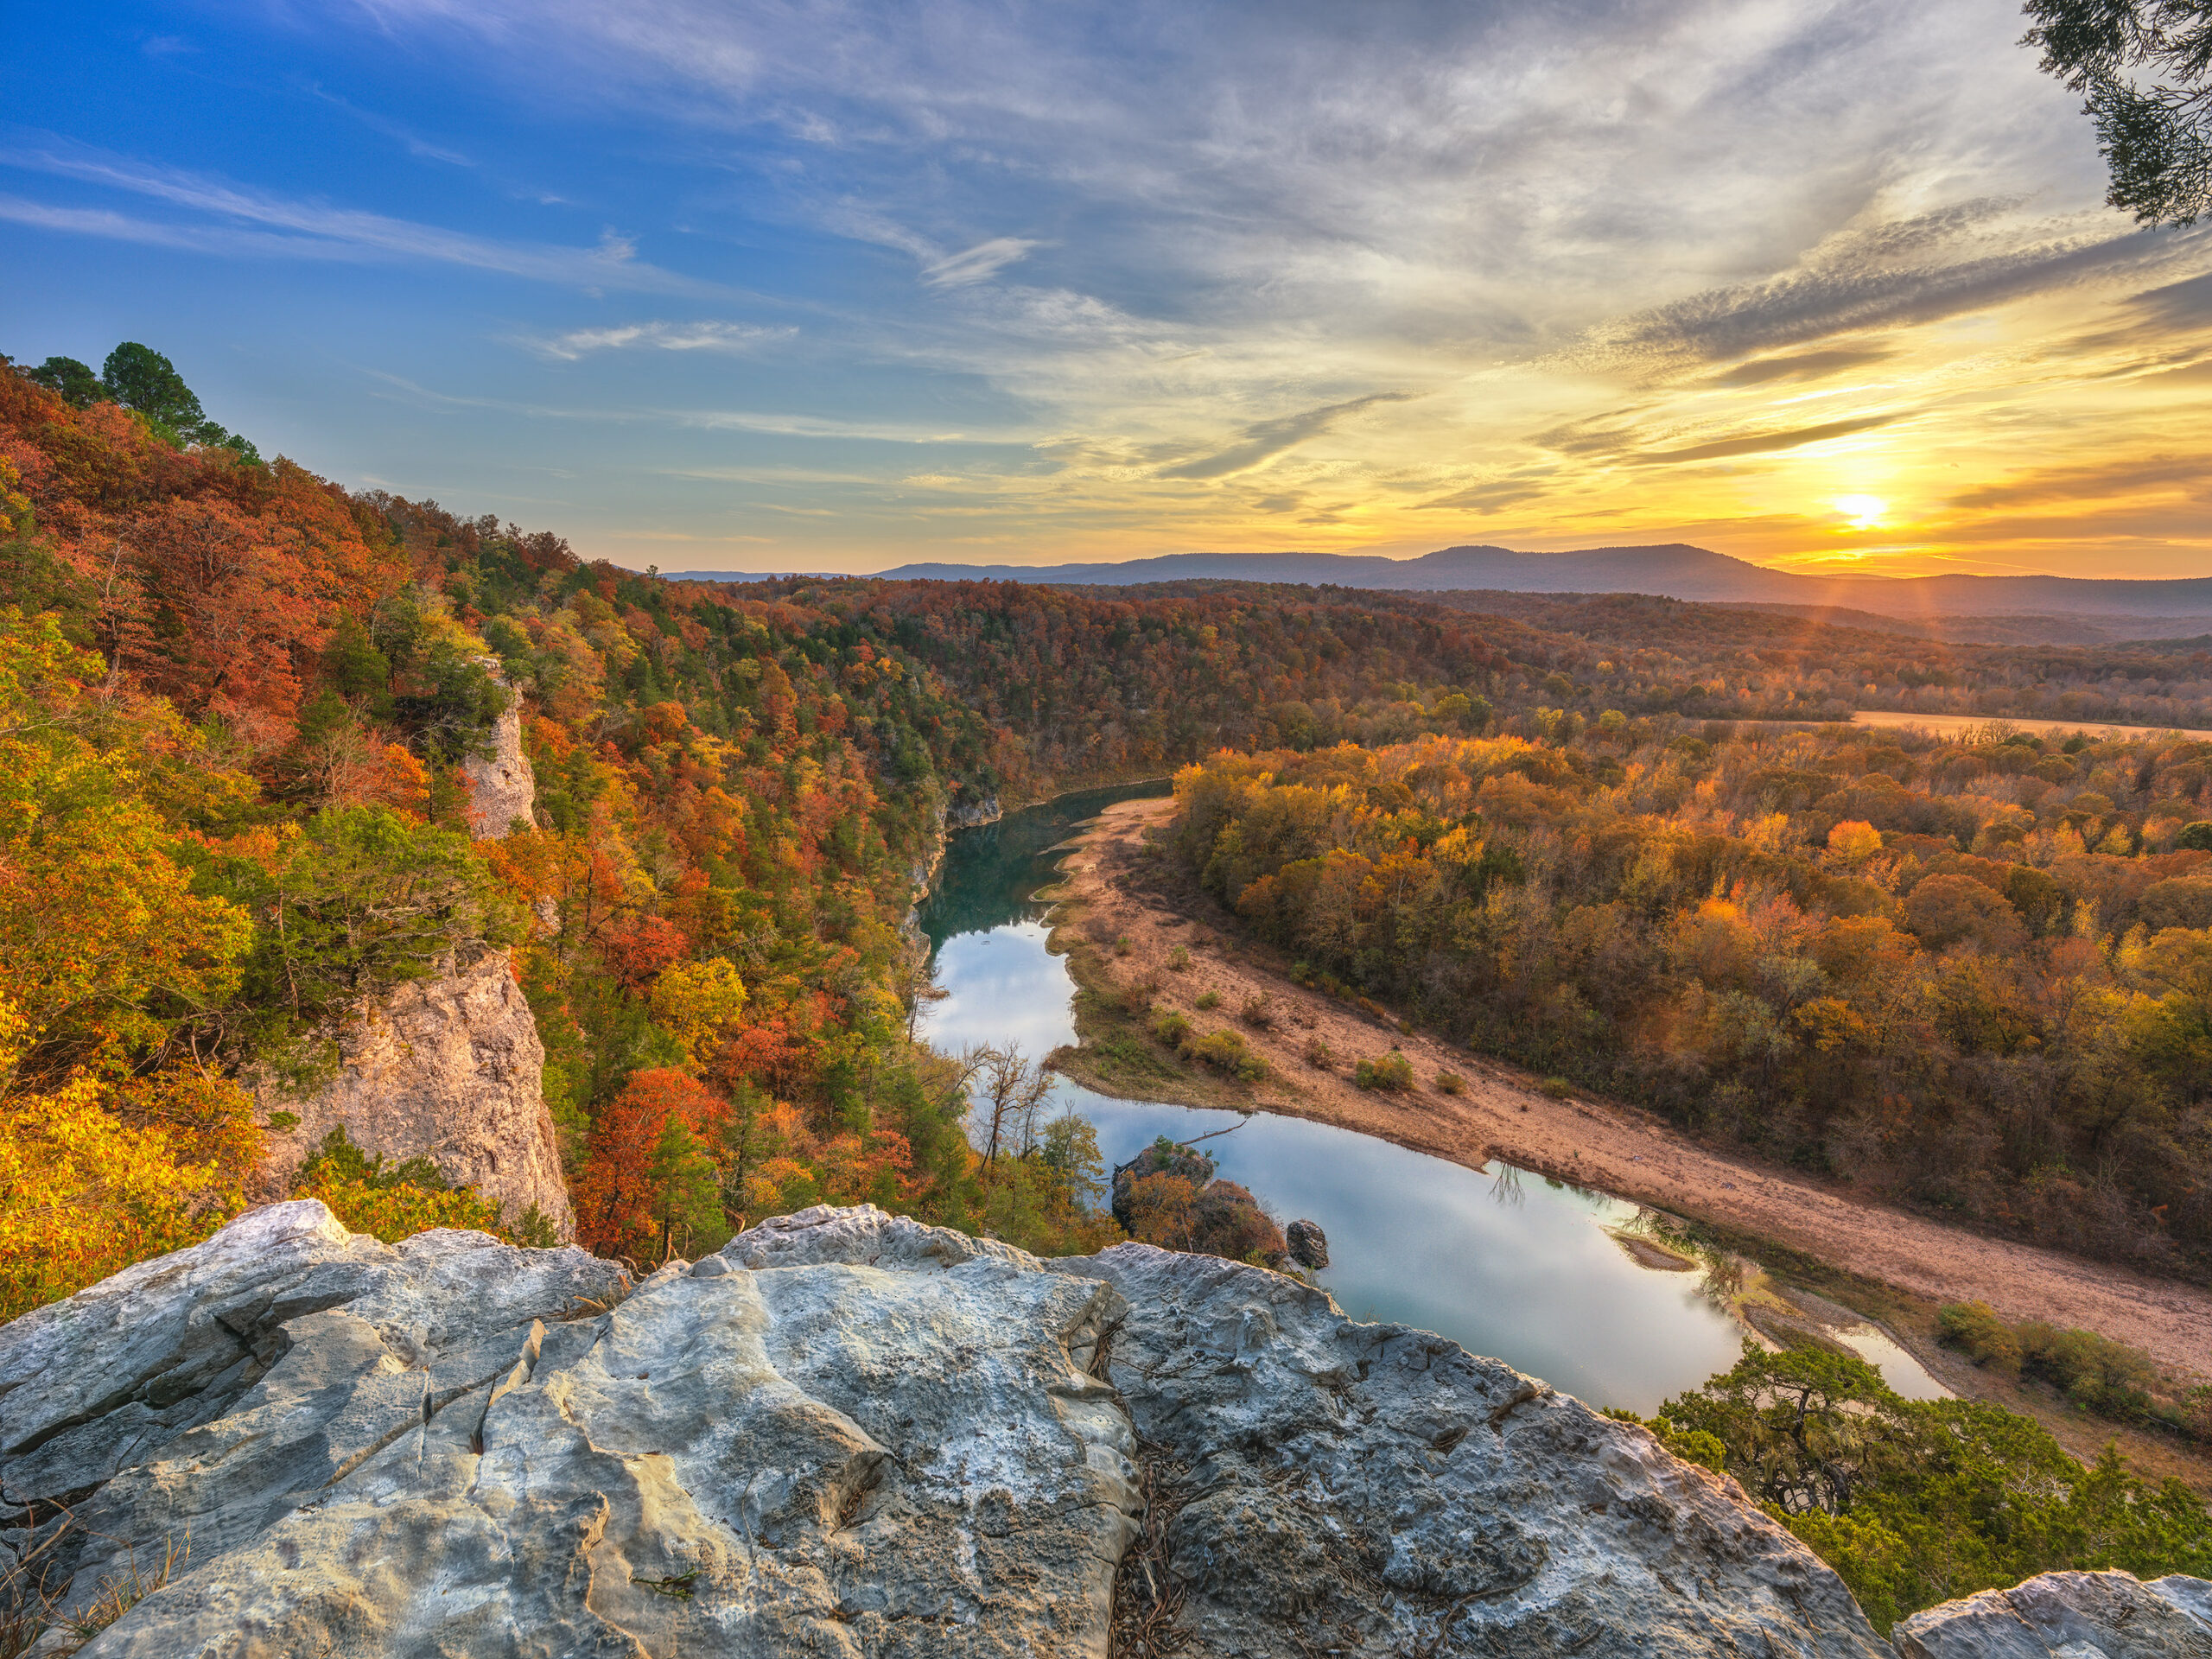
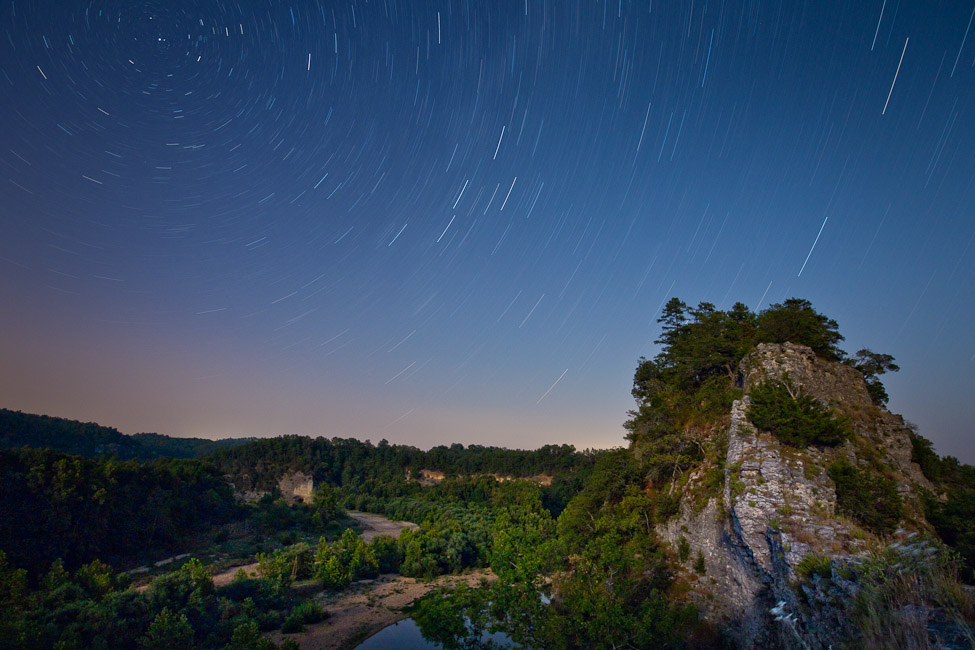
Sunset from Peter Cave Bluff–Buffalo River in Arkansas
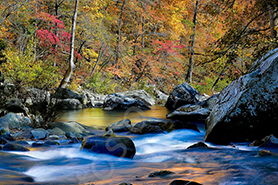
If you like to shoot sunrise or sunset images one of the issues that always has to be considered is lens flare. The effect is destructive as it tends to totally change the color of the subject, remove or change saturation levels, and totally alter the overall color of the image. Depending on the lens the flare tends to be in the corners or off of a diagonal from the sun. There are times where this type of flare can add to the overall image, but most times I find it distracting and destructive. In the past, the only way I knew to remove it was either cloning over the flare with a part of the image that is free of flare or attempting to use software tools like “Content Aware” in Photoshop. I never found content aware to be very effective for this and ended up usually either cropping the photo or using cloning. You can always try to hold your finger over the sun when shooting but this is tedious, and at time hard to due. I used to carry a flare buster to this as I could attach it to the flash bracket on my camera but many times I forgot it and knew I was going to have to work on the flare in post.
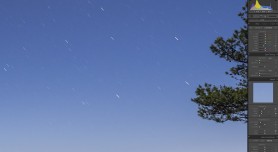
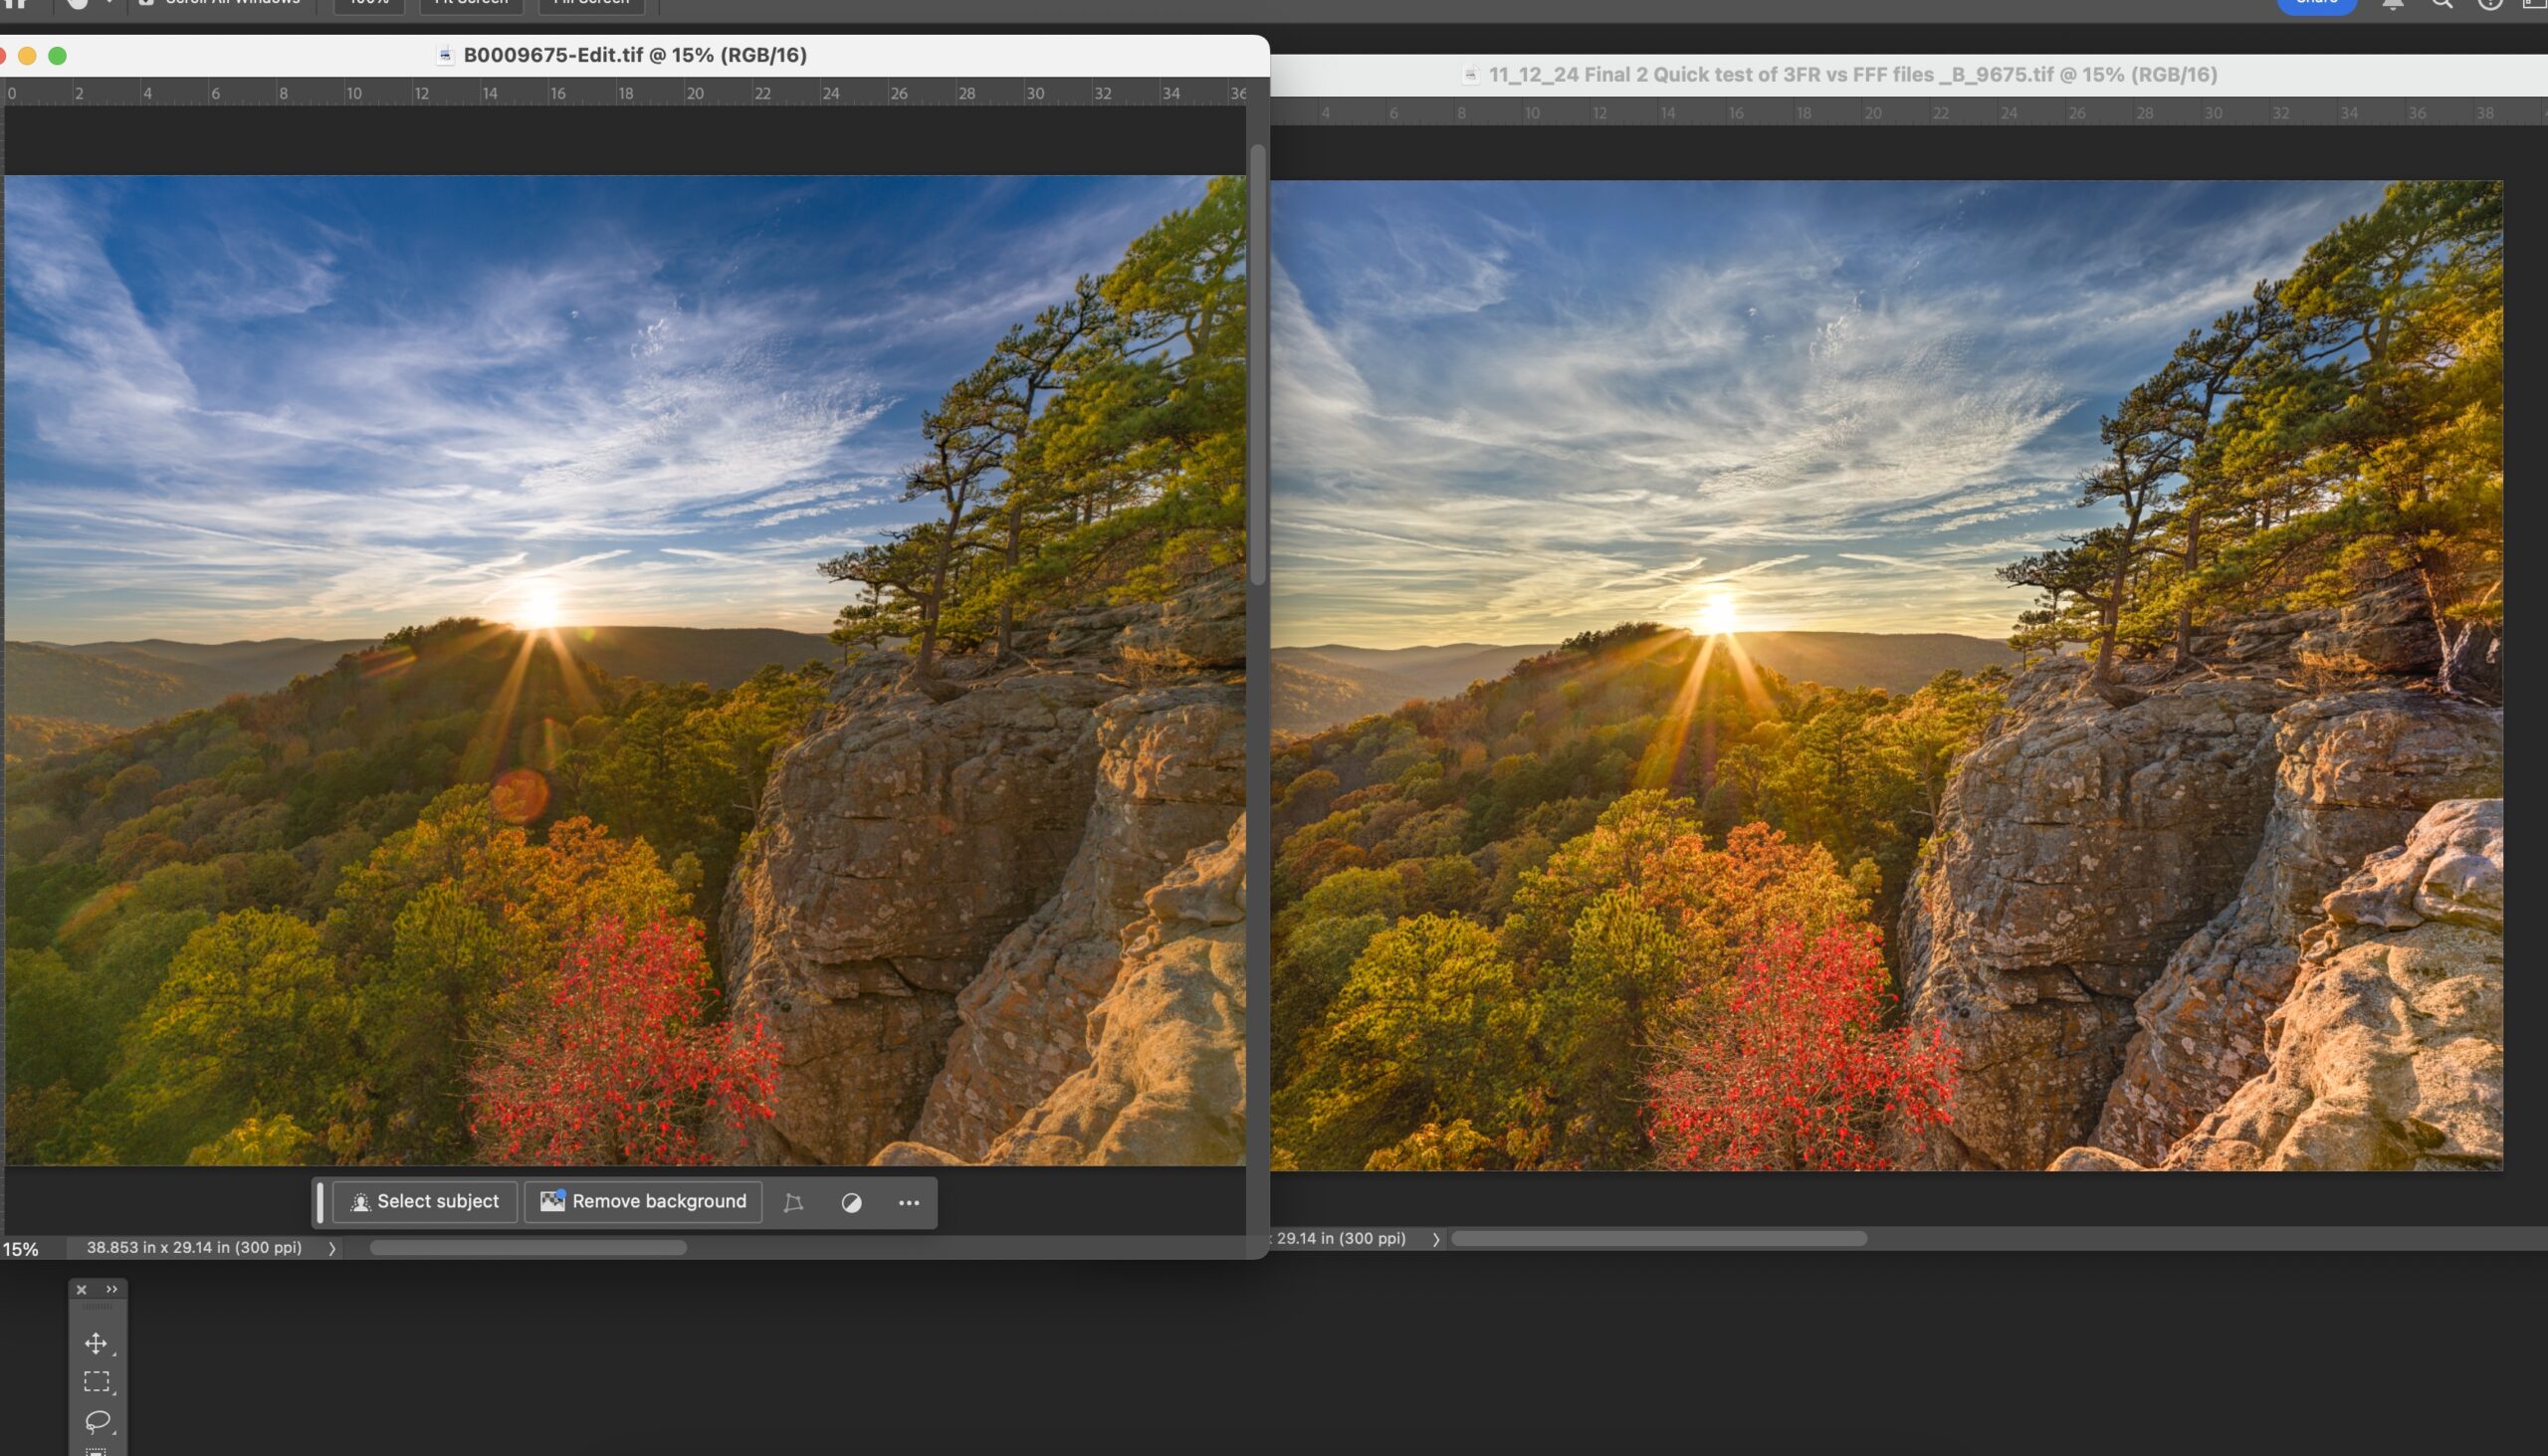
It’s also hard at times to see the flare when you are looking through the EVF or viewfinder of your camera, especially if you are using exposure brackets. In the image at the top of this article, you can see the sun was muted through some soft clouds, but there was still a flare issue. The camera I was using was the Hasselblad X2D and the 20-35 lens. I have found that the 20-35 is very flare prone anytime you are working with the sun in the image. The flare is especially large and damaging at times. In the crop below, you can see the amount of flare that occurred.

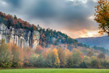
Discoloration due to flare on Hasselblad 20-35 lens
The flare in this case was rather large, and had the typical rainbow color spectrum on the outside edge. You can clearly see that the colors of the trees have been totally changed by the flare and overall the area has a more yellow look.

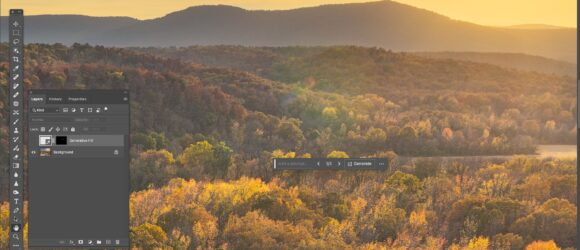
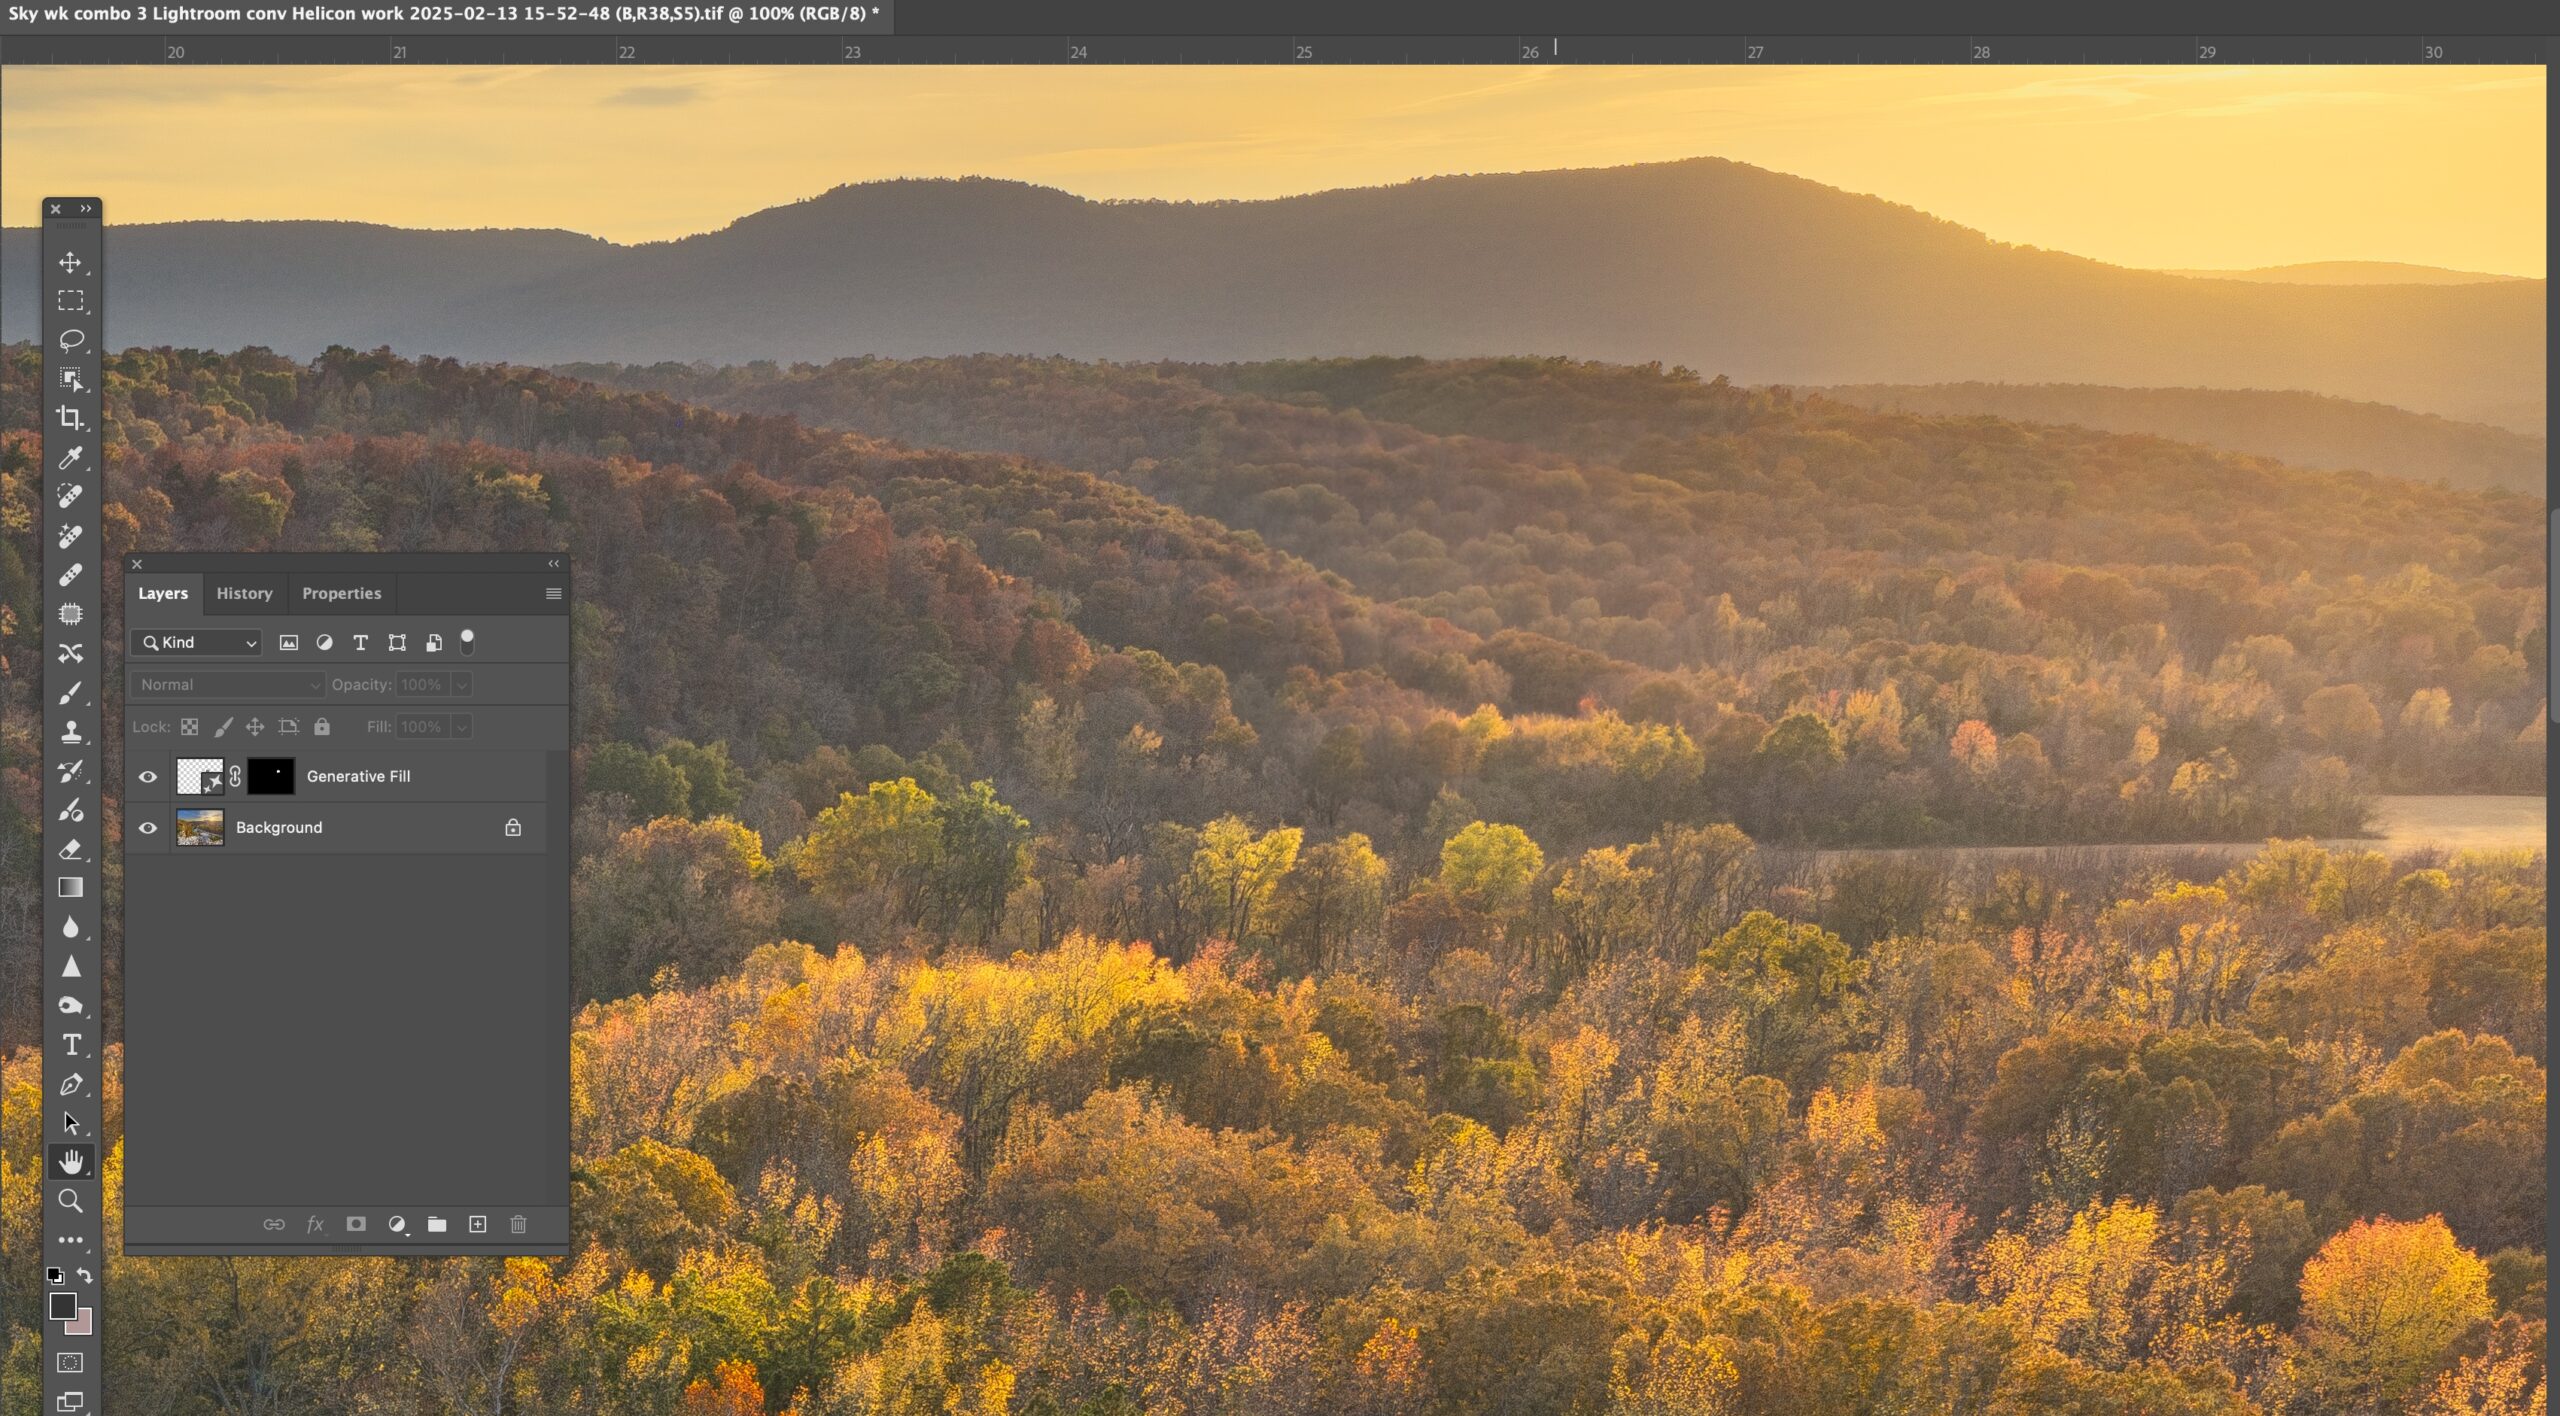
Selection area to remove flare with Generative Fill
In this screenshot, you can see that I used the lasso in Photoshop to select an area which slightly exceeds the amount of the image that is effected by flare. Once you have made a selection, click on “generative fill” and Photoshop will give you three solutions. There is an option to name this fill selection, I never do that. Once you have run the fill process you can then click through the three options to find the one that works best for you. Once you make that decision, simply flatten your layers and you are done. If you don’t feel any of the fills that Photoshop created work, then cancel and start again. Sometimes it can take a few runs to get the best possible solution. However I have always found that Photoshop can get something that works much better than content aware, or cloning.
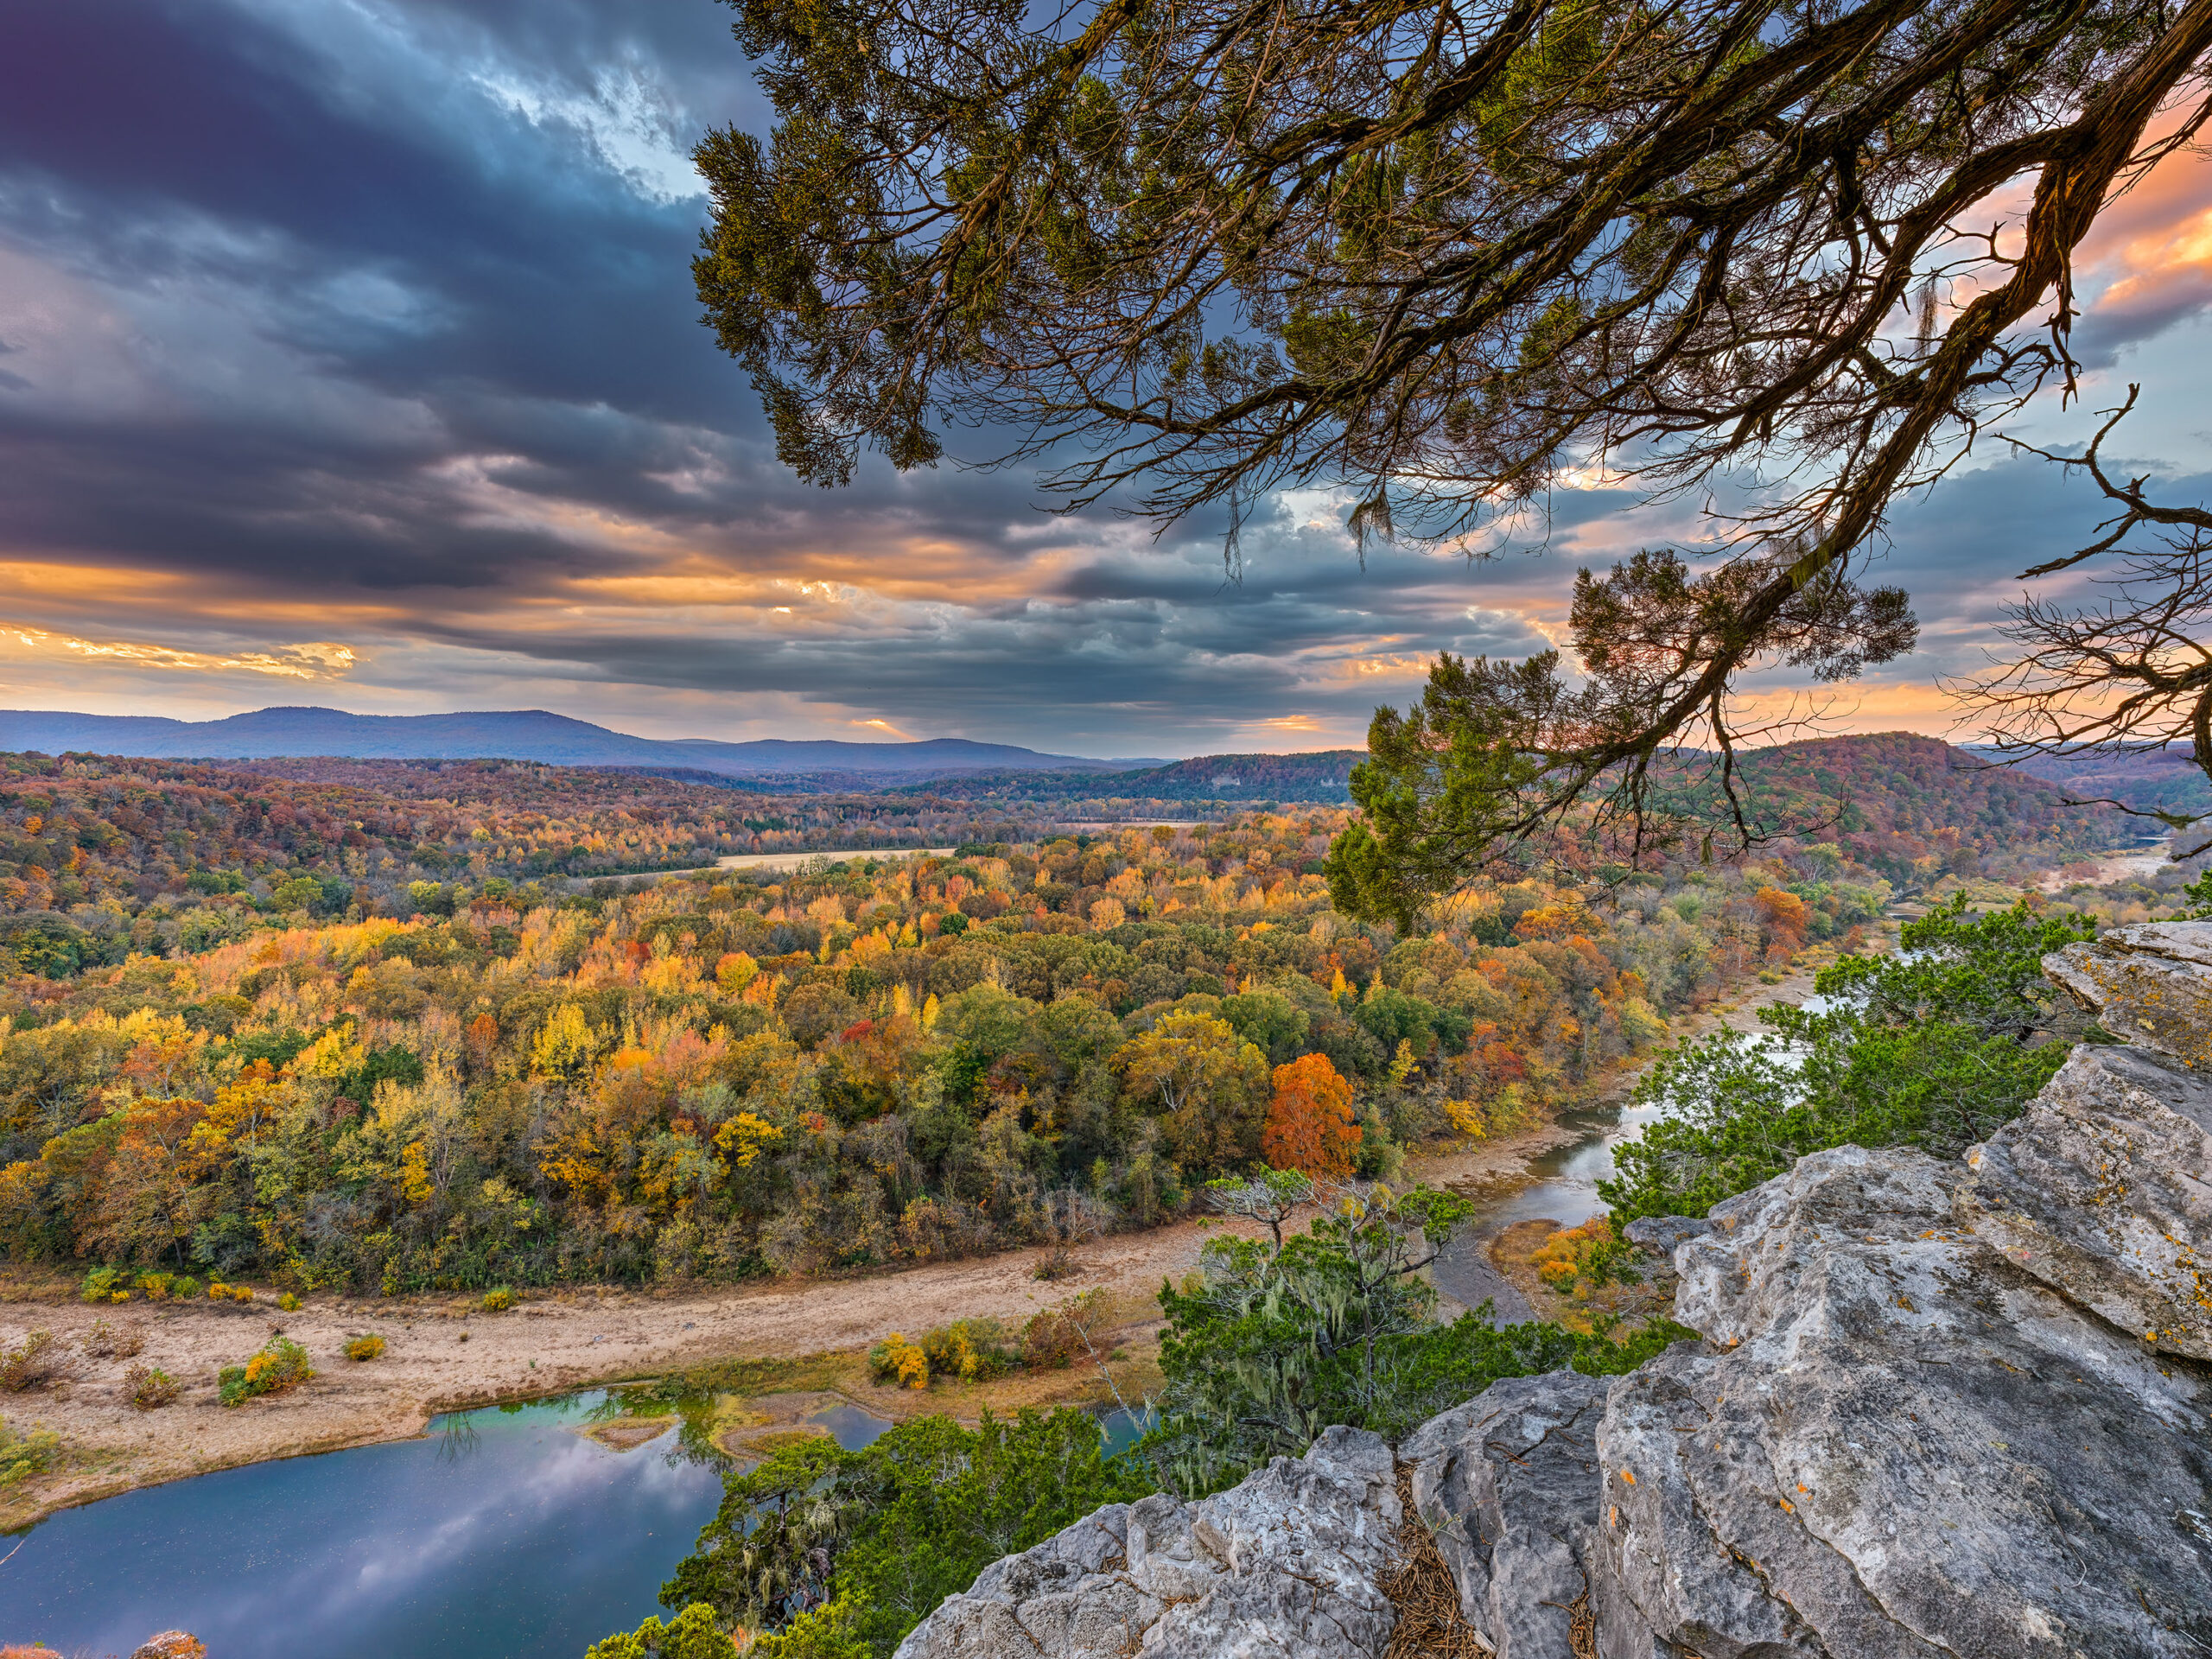
After Generative Fill has been applied to area on image
Now it’s possible to see the same area after generative fill has been applied. No more flare, or discoloration. A perfect blend.
Written for Photos of Arkansas by Paul Caldwell
 From the Blog
- Errors with High Resolution Mode, Panasonic LUMIX S1RII July 4, 2025
- 05/08/25 Capture One, big announcement, at least for portrait photographers May 8, 2025
- 05/03/25 Trump’s Tariffs finally start to hit Photography Equipment. May 3, 2025
- Firmware 4.1.0 for X2D? April 21, 2025
- 04/18/25–Looks like Trump’s Tariffs are much ado about NOTHING in regard to photography equipment. April 18, 2025
- 04/09/25 Arkansas Sets new standard for Scientific Ignorance with new law for Ivermectin April 4, 2025