04/25/13 Update to Stretch Relief Article–large Stretcher bars
- At April 29, 2013
- By paul
- In Articles/Reviews, Printing & Framing
 0
0
After working with the stretch relief pliers now for about 3 months, I finally tired them on a wider set of stretcher bars. If you read the instructions on the stretch relief pliers, they imply that the pliers work best with the 1.5 inch stretcher bars. This type of bar has the 1/5 inch width on the side that the canvas wraps around, so that when you display the stretched canvas it stands out from the wall by 1.5 inches. These same bars have about a 1 inch working area. By this I mean that the part of the bar where you staple the canvas is about 1 inch wide.
Many types of stretcher bar are wider than 1 inch in the working area but still will have a 1.5 inch display side. An example of this would be the excellent stretch bar made by Omega. This bar is called a 1/5 inch bar, but it has a 2″ working area. Here are some pictures of a Omega 1/5 inch stretcher bar.
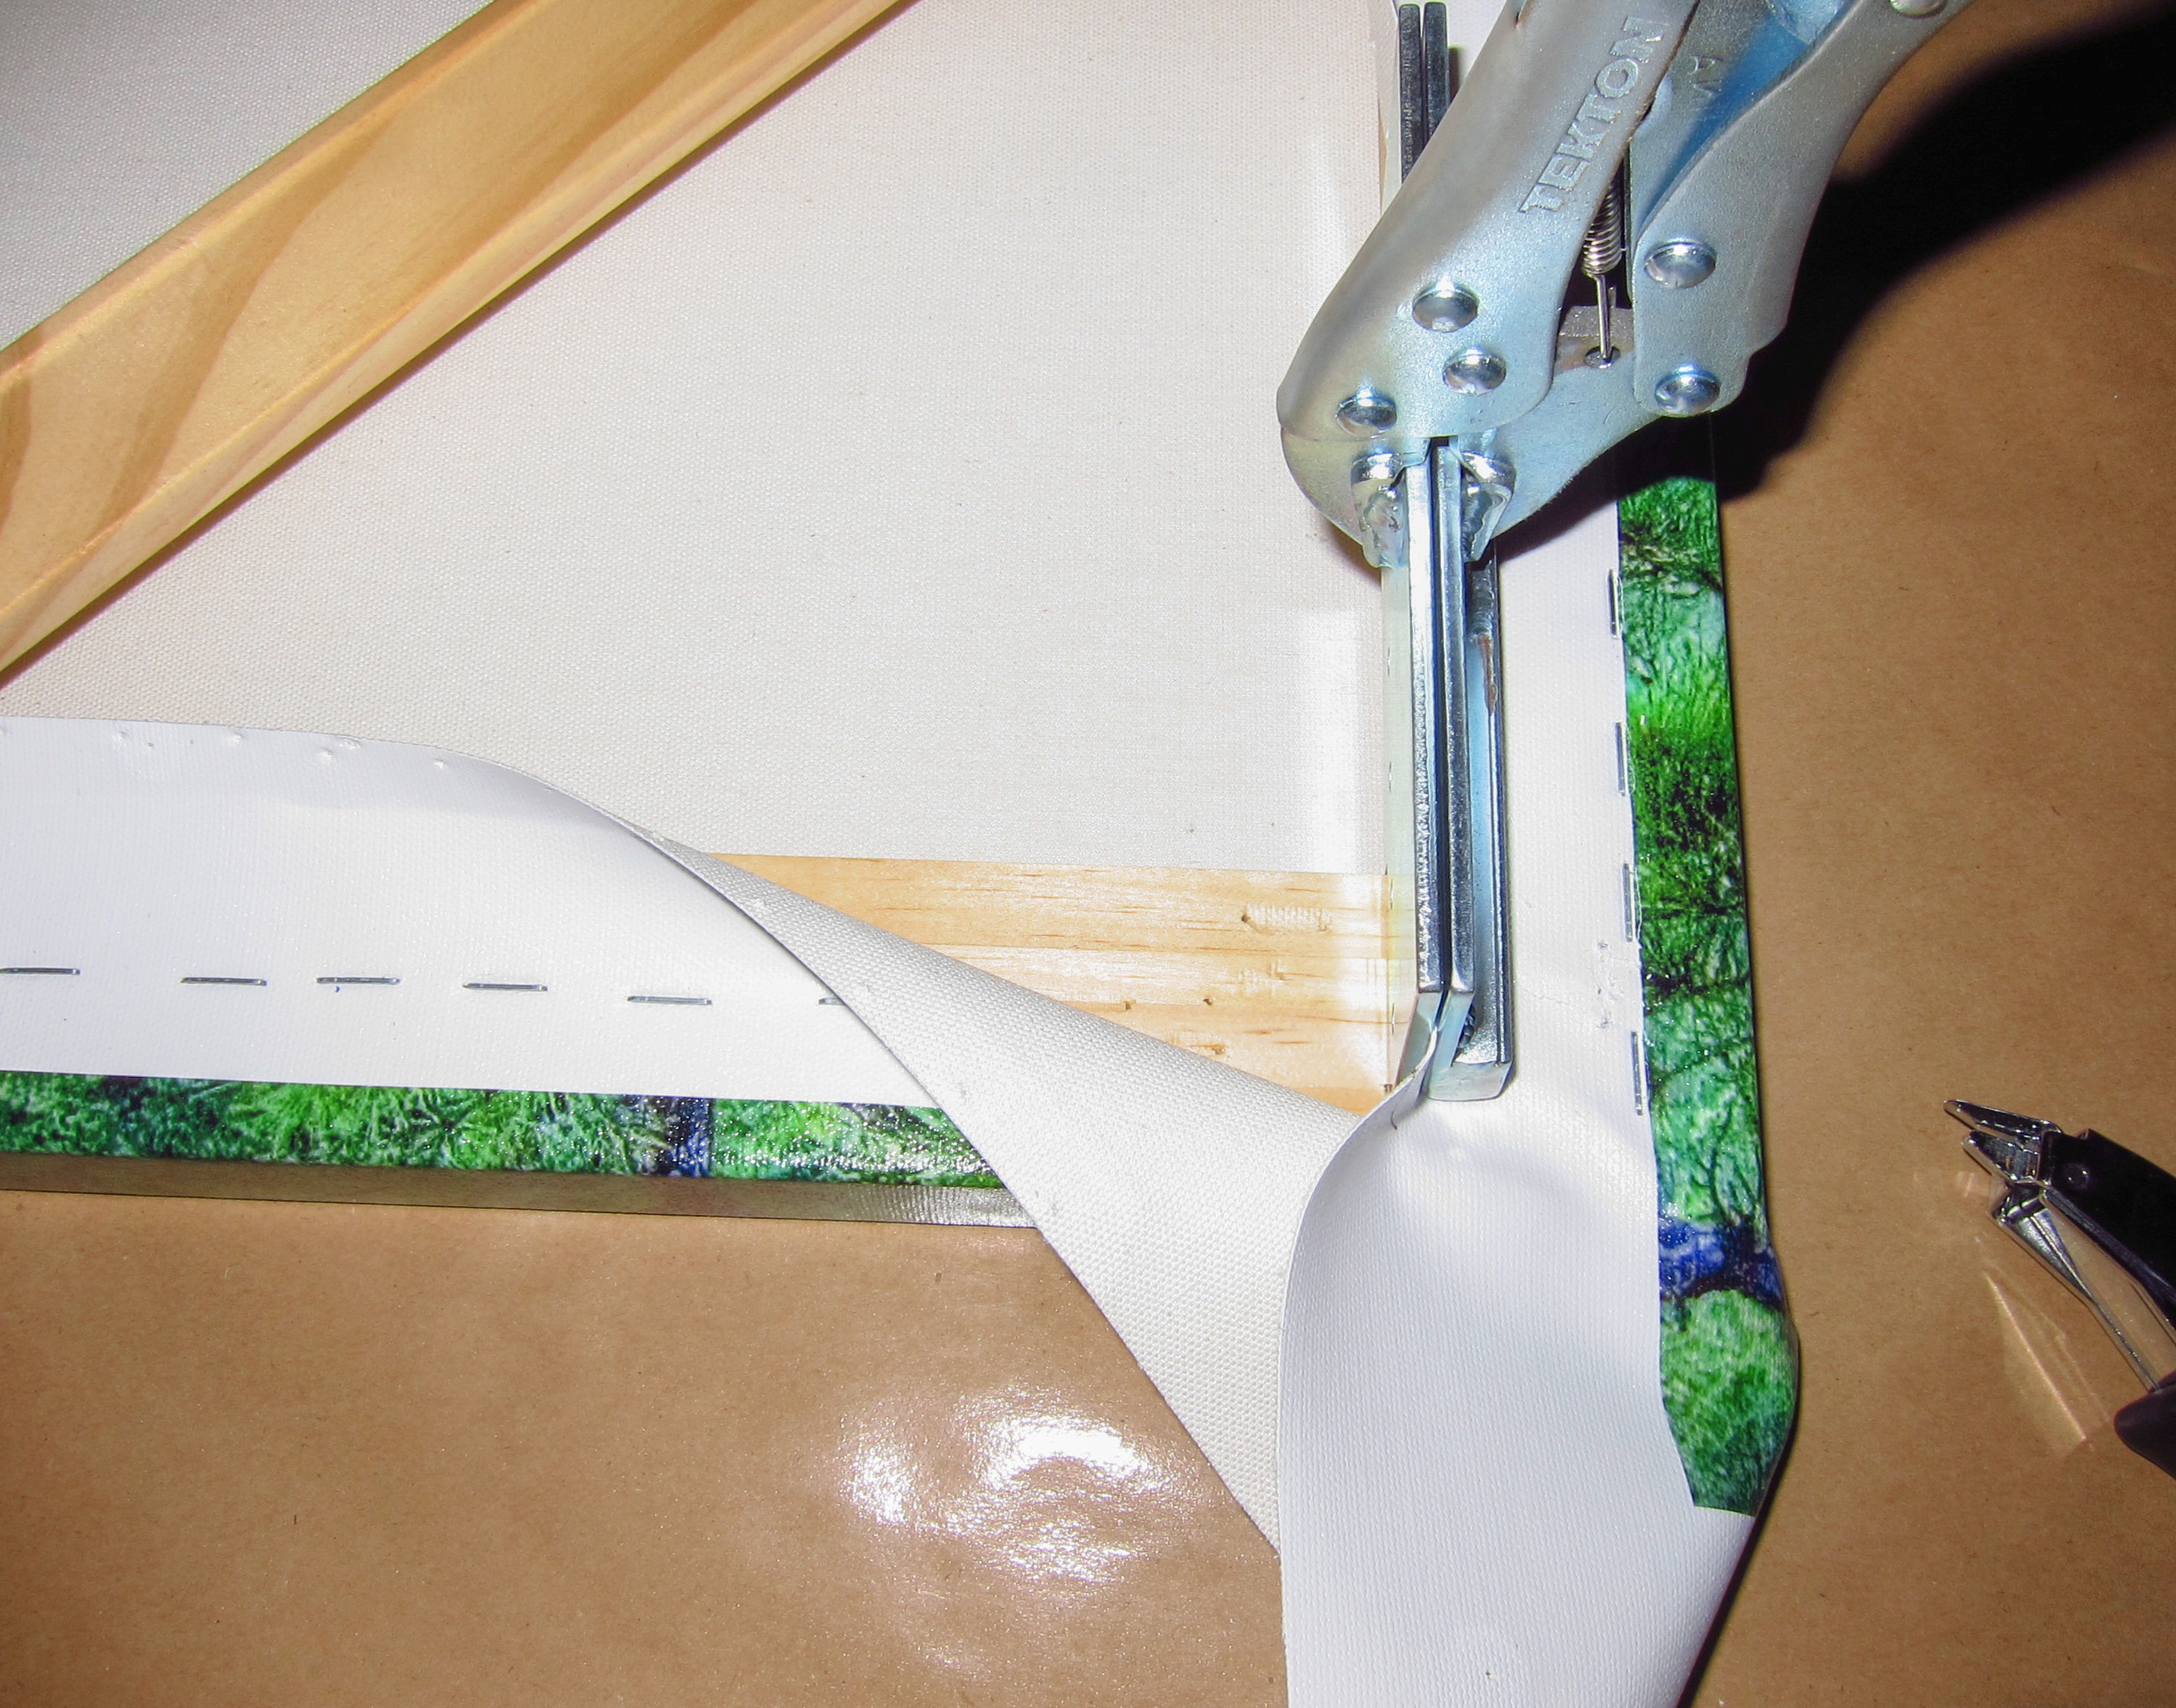
-

- Omega stretcher bar with stretch relief pliers applying tension
-
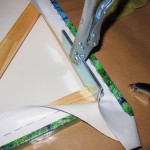
- Omega stretcher bar with stretch relief pliers
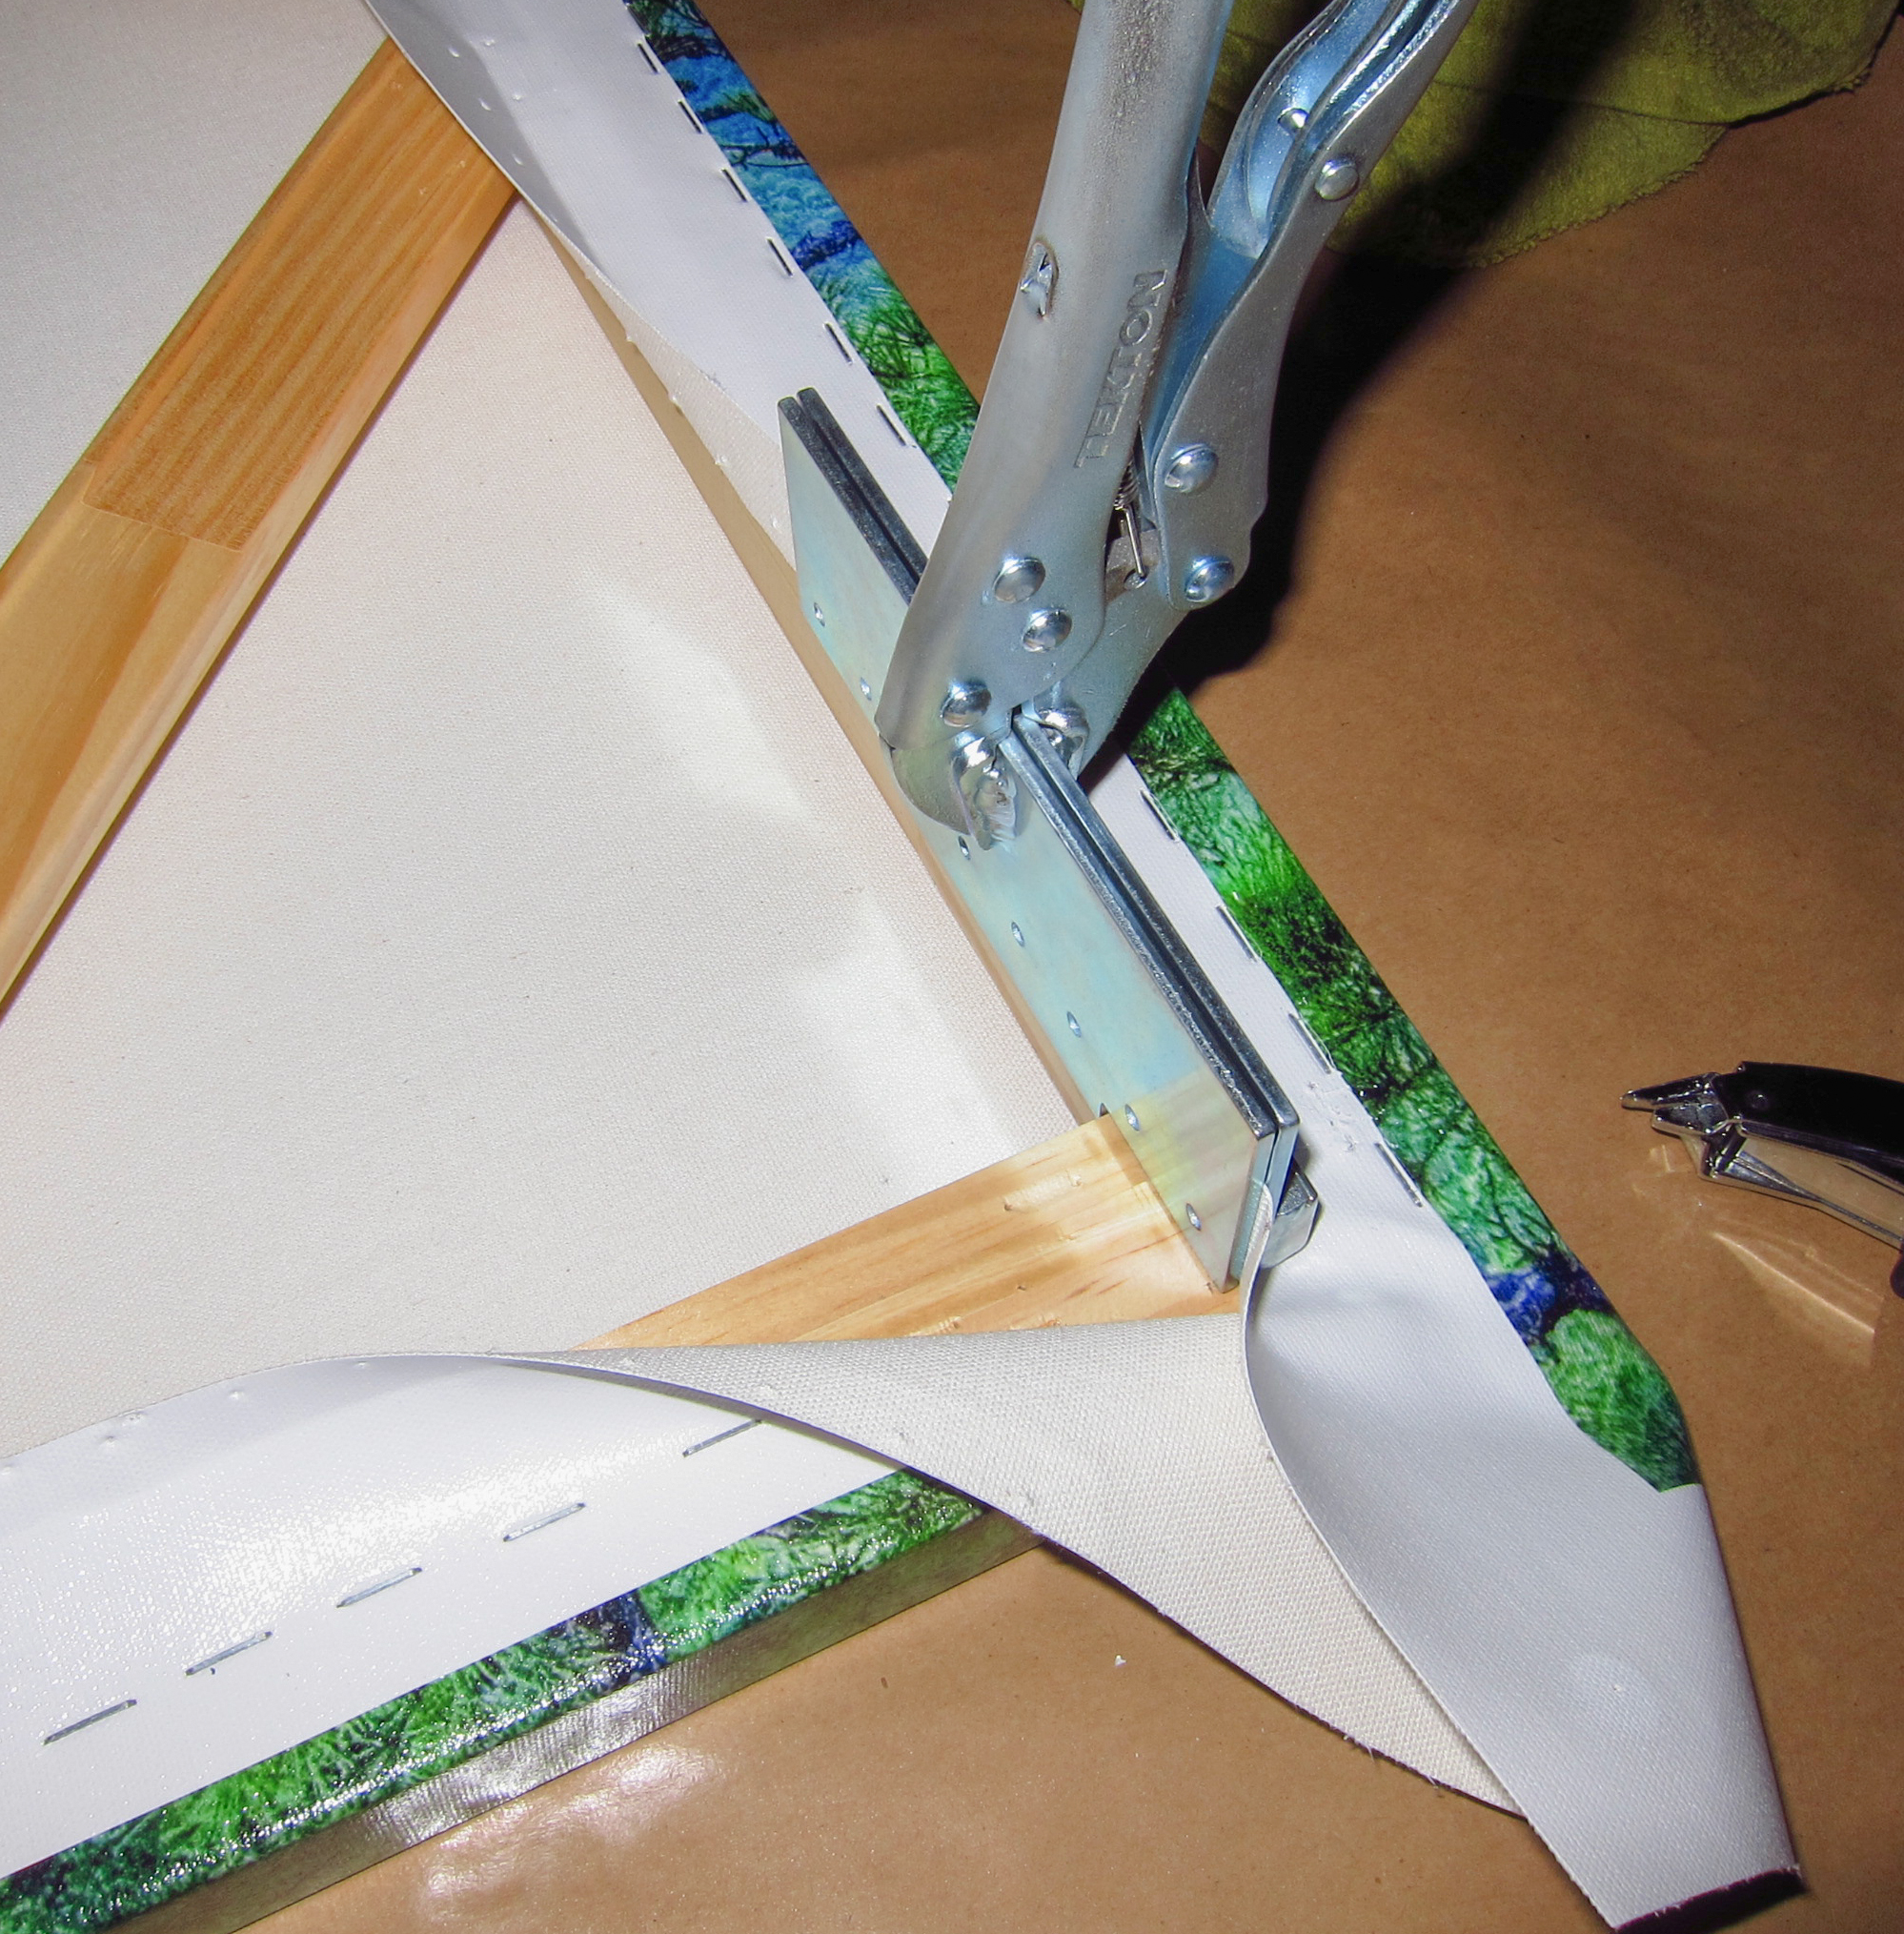
In these pictures, you can see that I have lined up the stretch relief pliers with the very back edge of the stretcher bar. This works well and you can create a fulcrum point and apply tension just like on the the shorter 1.5 inch bars. The only issue is that you will need to have a longer piece of blank canvas to cover the extra length of the 2″ bar. With the stretch relief pliers on 1.5 inch bars with a 1 inch working area, you need at least 1 1/4 inches of canvas to allow you to work with the pliers. With the Omega bars which have a much longer working area of 2 inches, I found that you needed about 1 3/4 inches of extra canvas to be able to grab the canvas and create a fulcrum point.
This means that when you create your canvas print, you will need to allow more blank or extra canvas with a stretcher bar like the Omega. So for example on a 24 x 36 inch print, you would need to have at least 1.5 inches of printed material to cover the wrap and then add about another 1.5 inches of extra canvas. This means you have to waste a bit of canvas and you would not be able to get a maximum width print from a 44″ or 36″ roll of canvas since you are going to have to allow for the extra length. I still would lead off with the 1.5 inch bars with a 1″ working area, but if you have some of the Omega or other brands that have the longer working area, you can still use them to great effect with the stretch relief pliers.
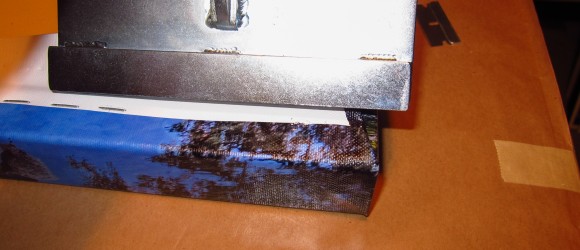
-
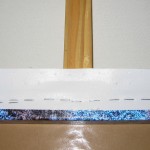
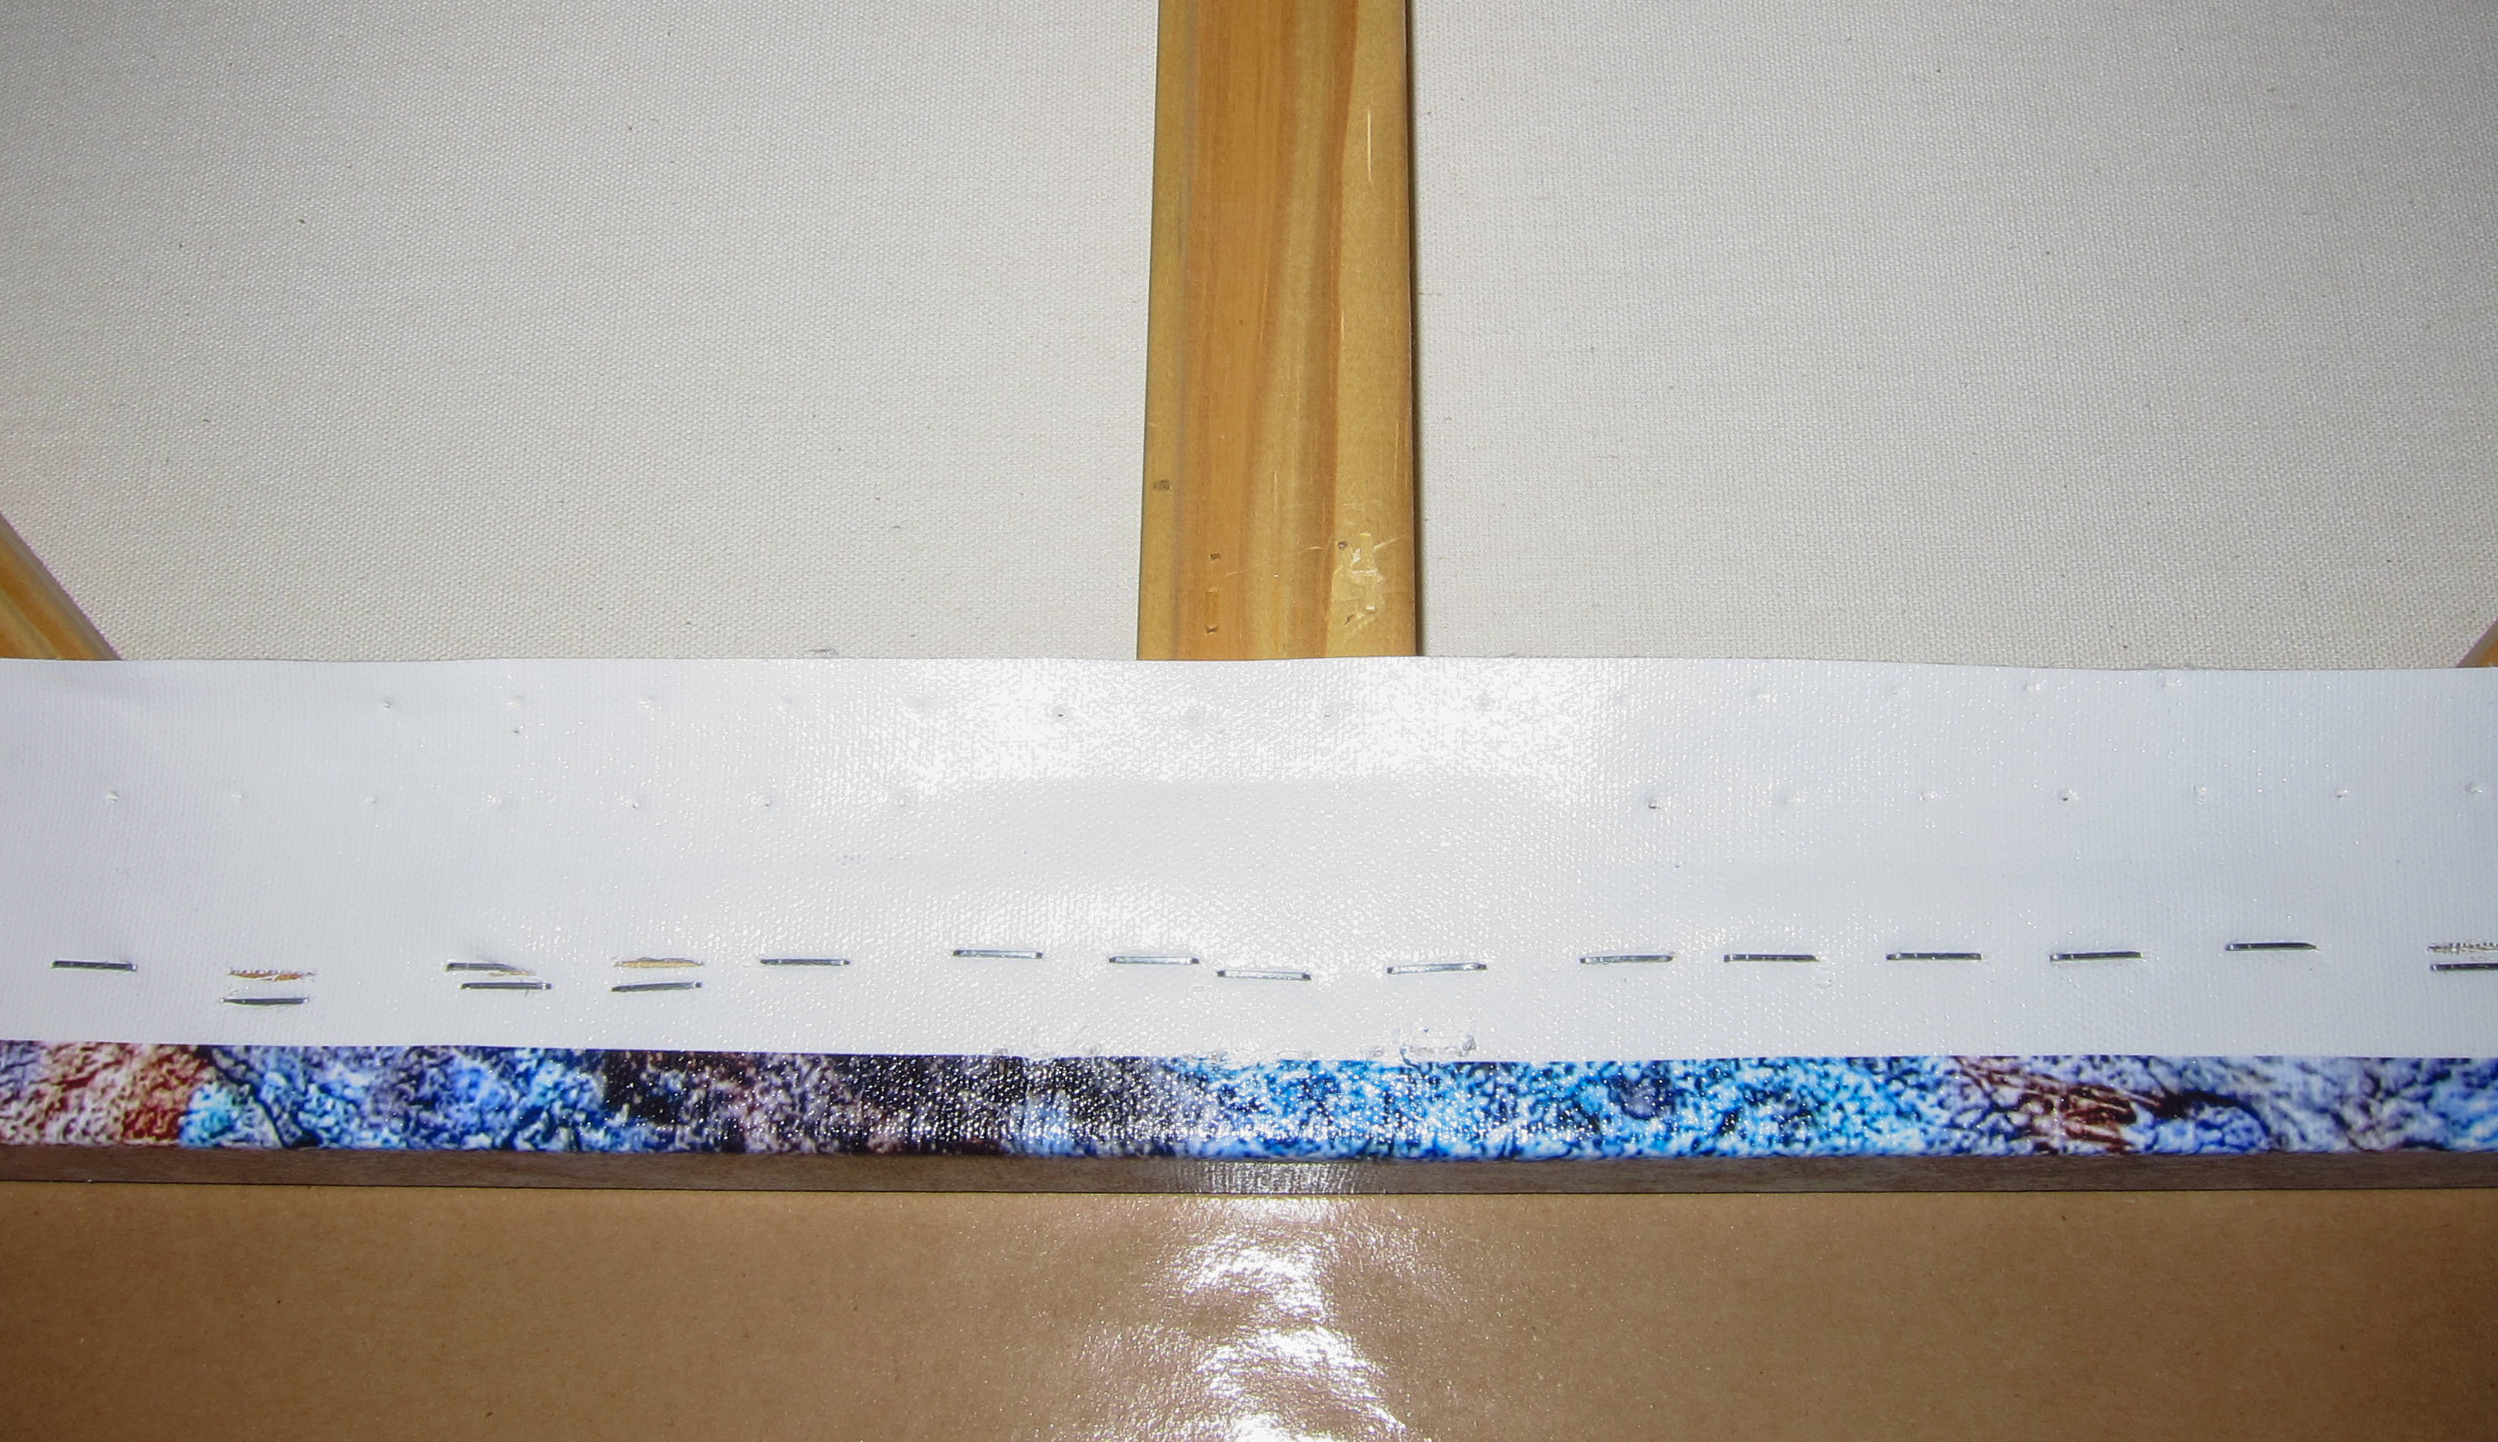
- Picture showing extra amount of canvas needed to work with a bar with a 2″ back
-
- Notch on the back side of the Omega stretcher bar
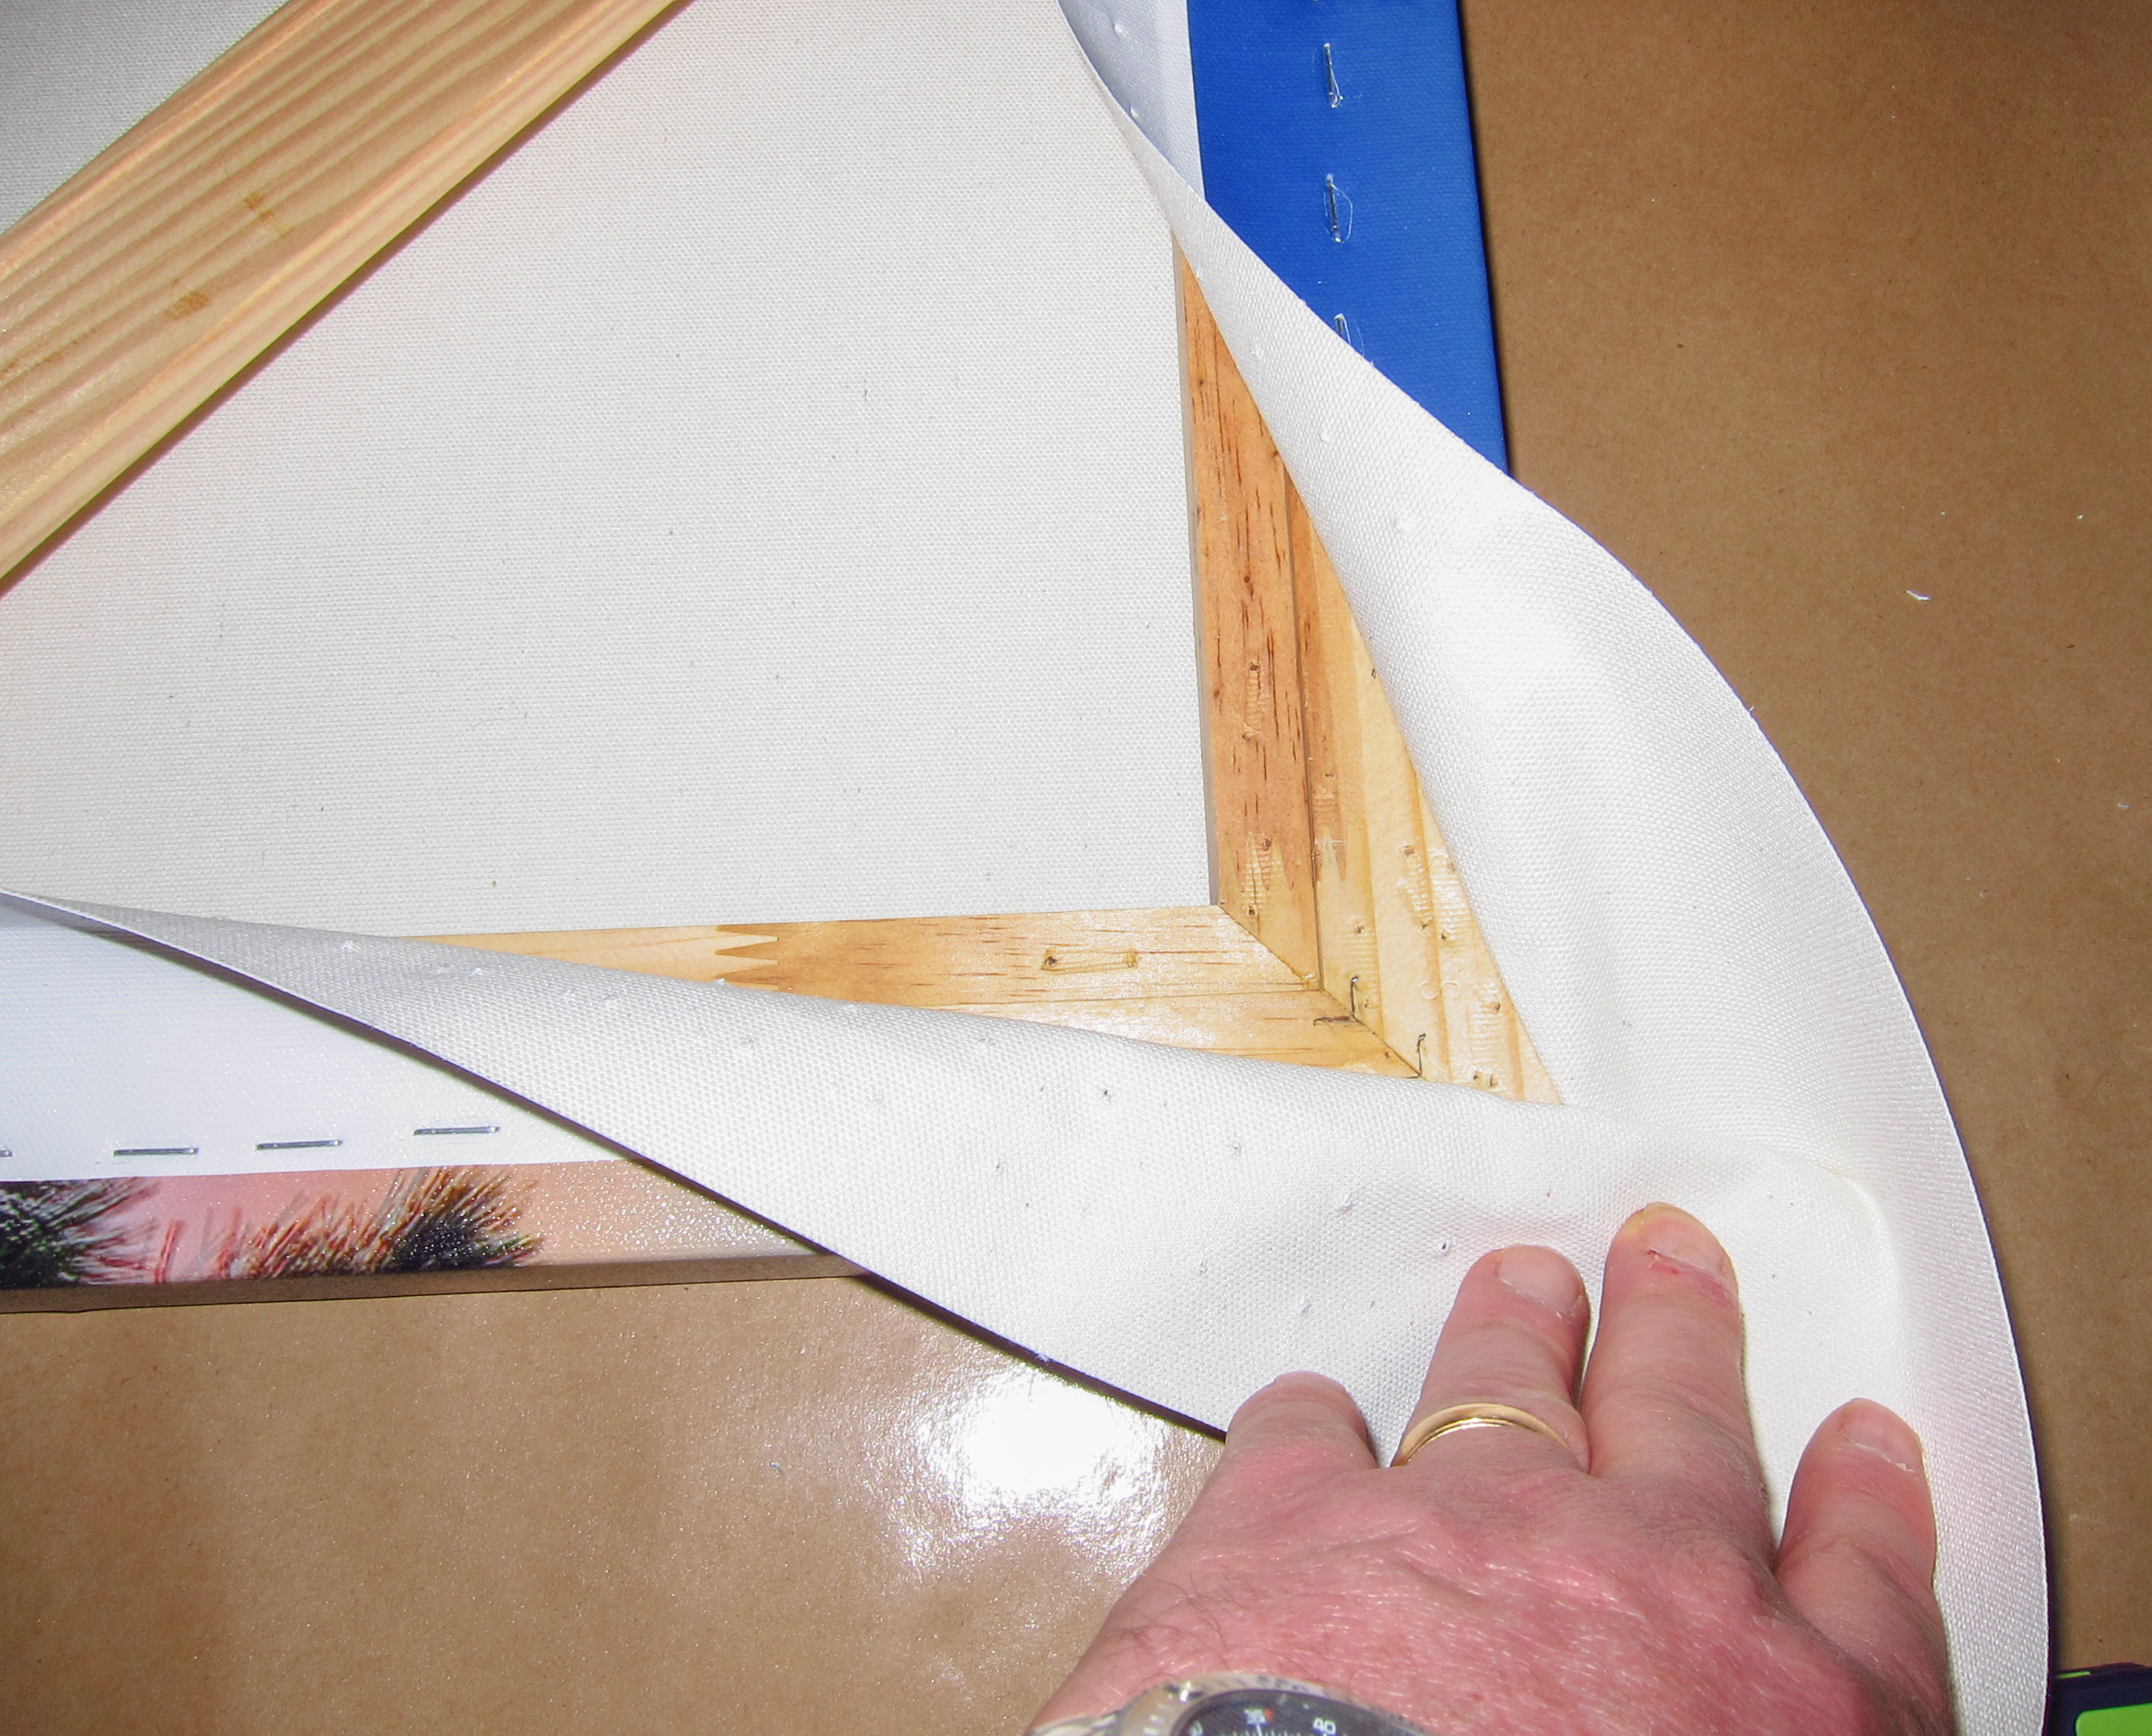
In the first picture, you can see the extra amount of canvas I needed to work with the Omega 1.5 inch bar, with a 2 inch working area. Notice where the teeth holes are on the white part of the canvas, this is just about the least amount of canvas that you can spare.
The Omega bars have a small notch in the back which is about 1.5 inches from the front of the bar which you can lock into to create a fulcrum point. If you don’t like this purchase, you can easily just move to the back of the bar and then apply the pressure. In the last picture which shows a corner area, you can clearly see the small notch which is about 1/2 inches from the back of the bar. You can use this small notch with the stretch relief pliers just as well as the very back of the bar. What this means is that you get by with a bit less extra canvas.
Once I started on this stretch, I found that the Omega bars worked very well with the stretch relief pliers. This was a stretcher frame that I had made many years ago and I wanted to put a newer canvas on it. I no longer use the corner bracing on a 24 x 36 canvas instead I just use a single middle support bar. If I work on a 30 x 45 inch or larger, I will add the corner supports.
 From the Blog
- Errors with High Resolution Mode, Panasonic LUMIX S1RII July 4, 2025
- 05/08/25 Capture One, big announcement, at least for portrait photographers May 8, 2025
- 05/03/25 Trump’s Tariffs finally start to hit Photography Equipment. May 3, 2025
- Firmware 4.1.0 for X2D? April 21, 2025
- 04/18/25–Looks like Trump’s Tariffs are much ado about NOTHING in regard to photography equipment. April 18, 2025
- 04/09/25 Arkansas Sets new standard for Scientific Ignorance with new law for Ivermectin April 4, 2025