
If you have problems seeing all of the images in a particular gallery, please do one of the following:
- Refresh you browser screen once or twice and remaining thumbnails should load
- Exit the gallery with the green tab on the top left, and re-enter the gallery, after that all thumbnails should be available
You can still click on an image that has a problematic thumbnail and the actual image should still load for you.
PLEASE NOTE: All of the photography of this website is the property of www.photosofarkansas.com and is copy right protected. DO NOT DOWNLOAD THESE IMAGES AND THEN CROP THEM FOR A PRINT. THESE IMAGES ARE NOT TO BE USED IN ANY PUBLIC LOCATION WITH THE EXPRESS PERMISSION OF PAUL CALDWELL. Do not copy any of the images on this site to paste on Facebook, Pintrest, or any other website without the permission of Paul Caldwell. Years of time have gone into capturing these photographs, please respect that. I do not take copy right infringement lightly. If you have a need to display any of my work on your site ASK me before you Copy & Paste.
As of December, you can now enjoy a index of the past 36 featured photographic images by clicking here:
I have added a new Gallery, Recent Photography. This gallery will contain new work from recent trips and hikes throughout Arkansas and selection of my more popular images from over the years.
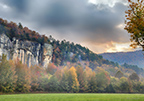
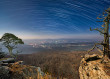
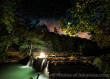
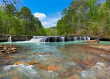
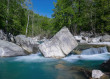
New panorama from fall 2018 on Richland Creek
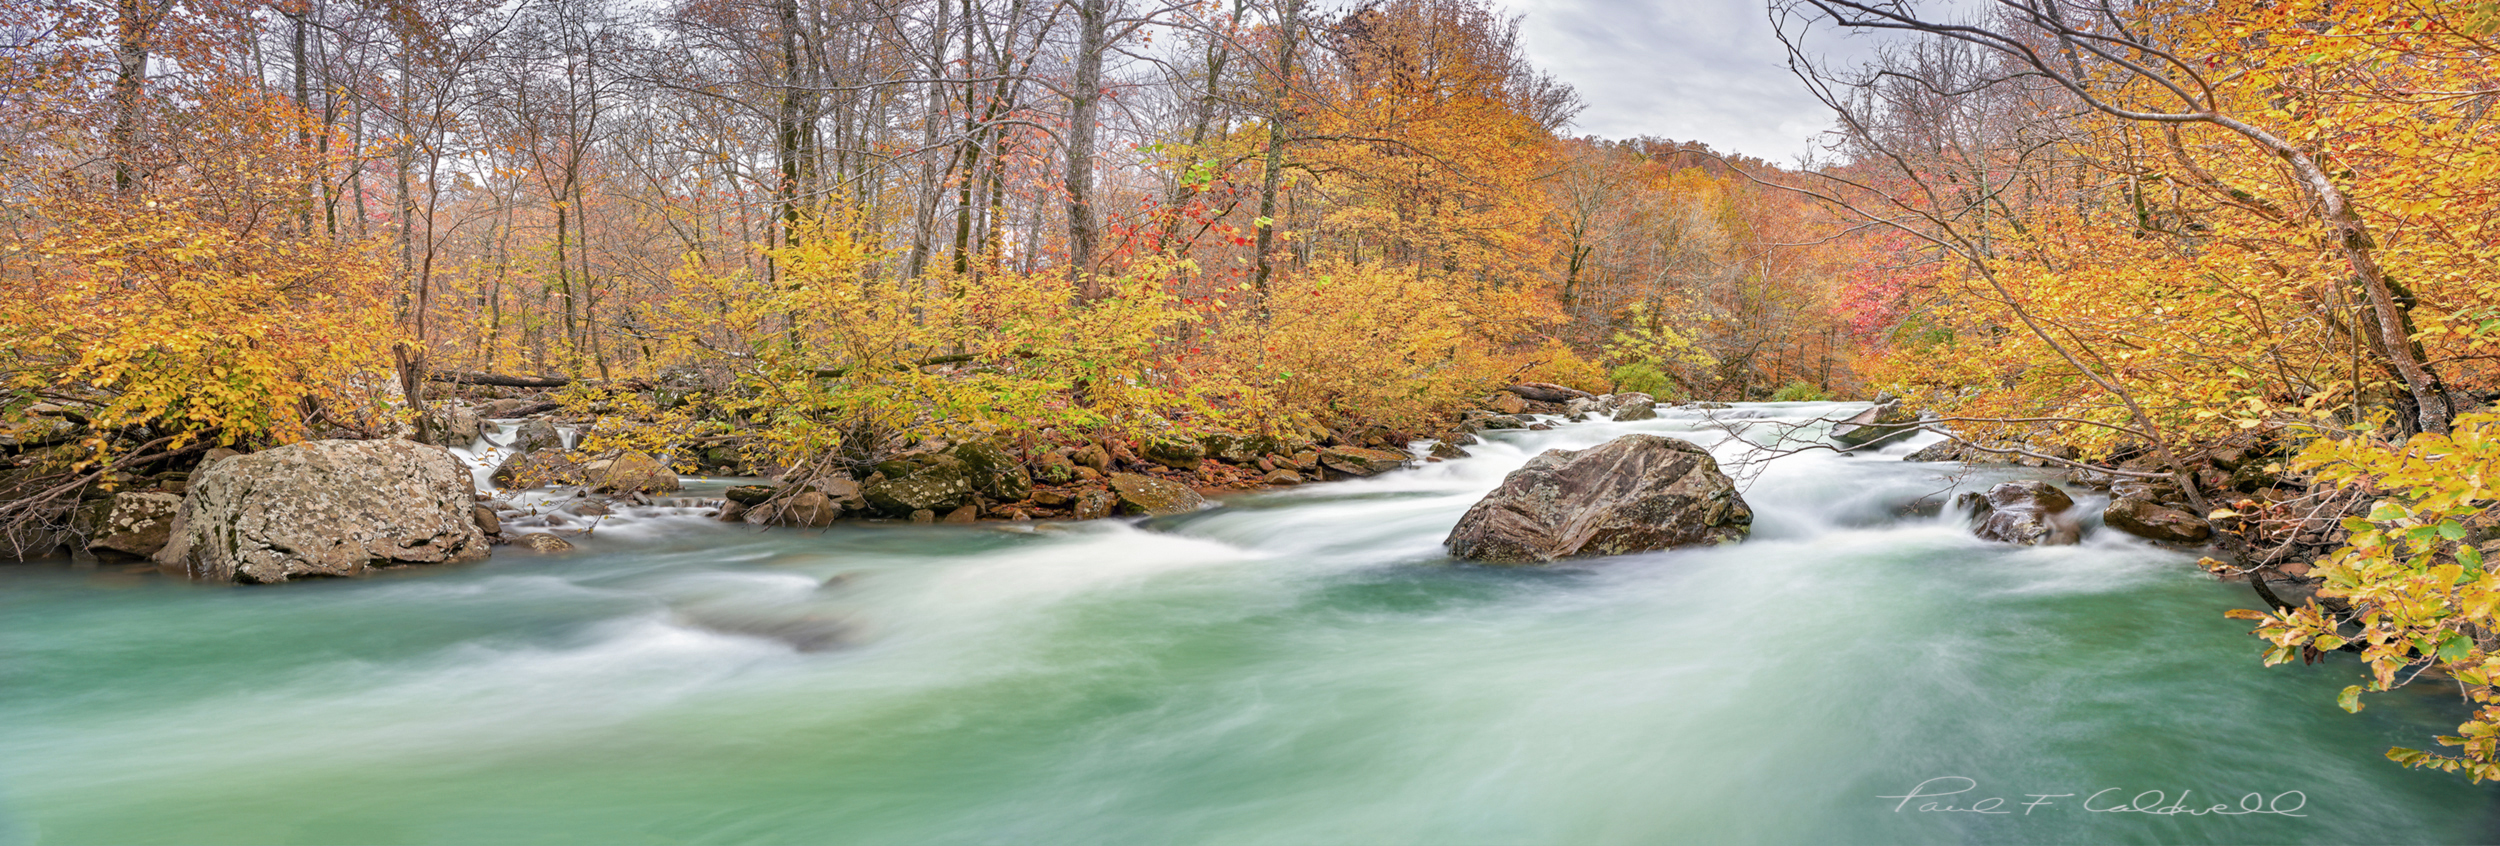
Fall on Richland and Falling Water Creeks 2018
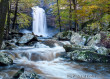
Afterglow on Yosemite Falls, California in early May 2017

Afterglow on Yosemite Falls, taken in early May 2017, Camera Phase One IQ3100
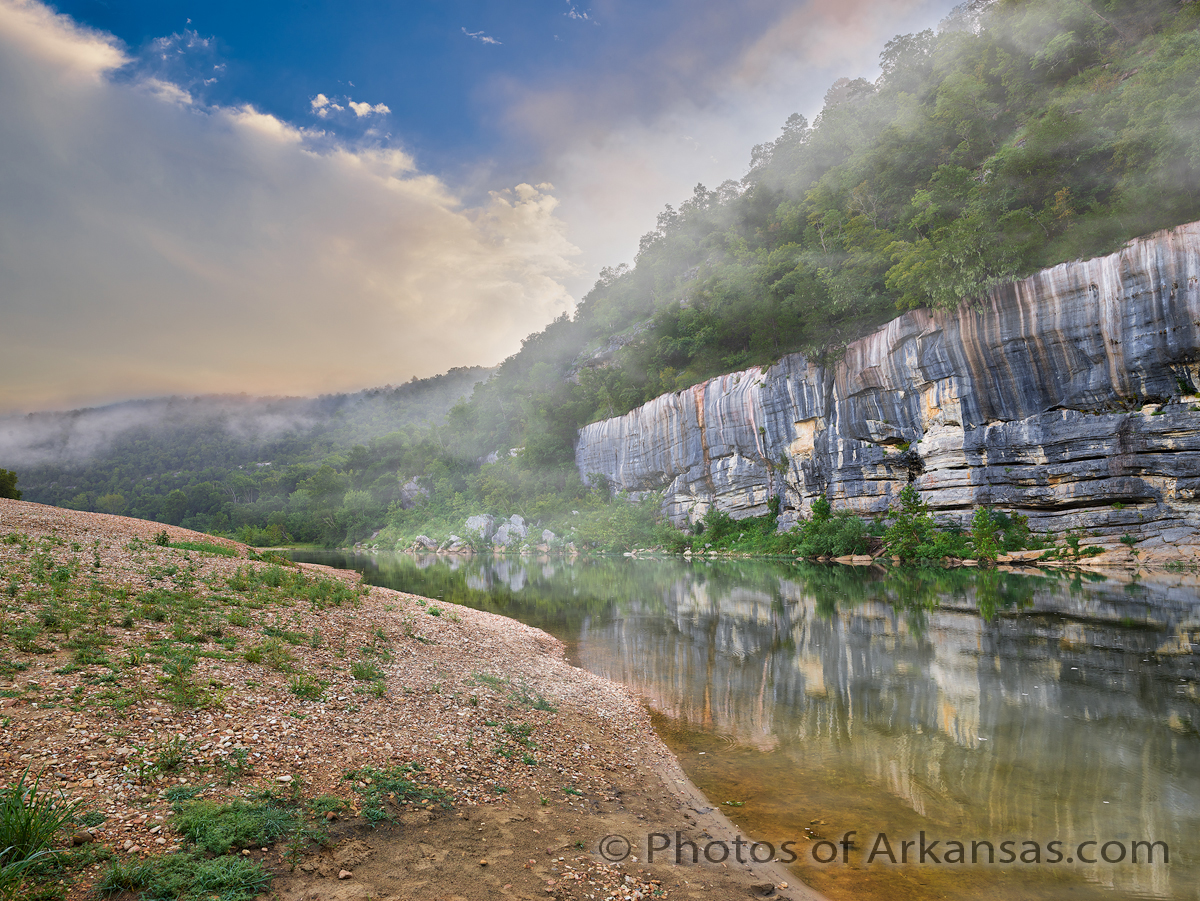
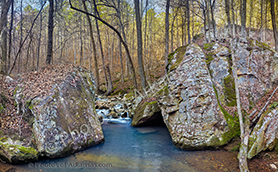
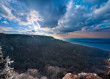
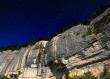
Sunrise at Rainbow Rock Natural Bridge–Treat Arkansas
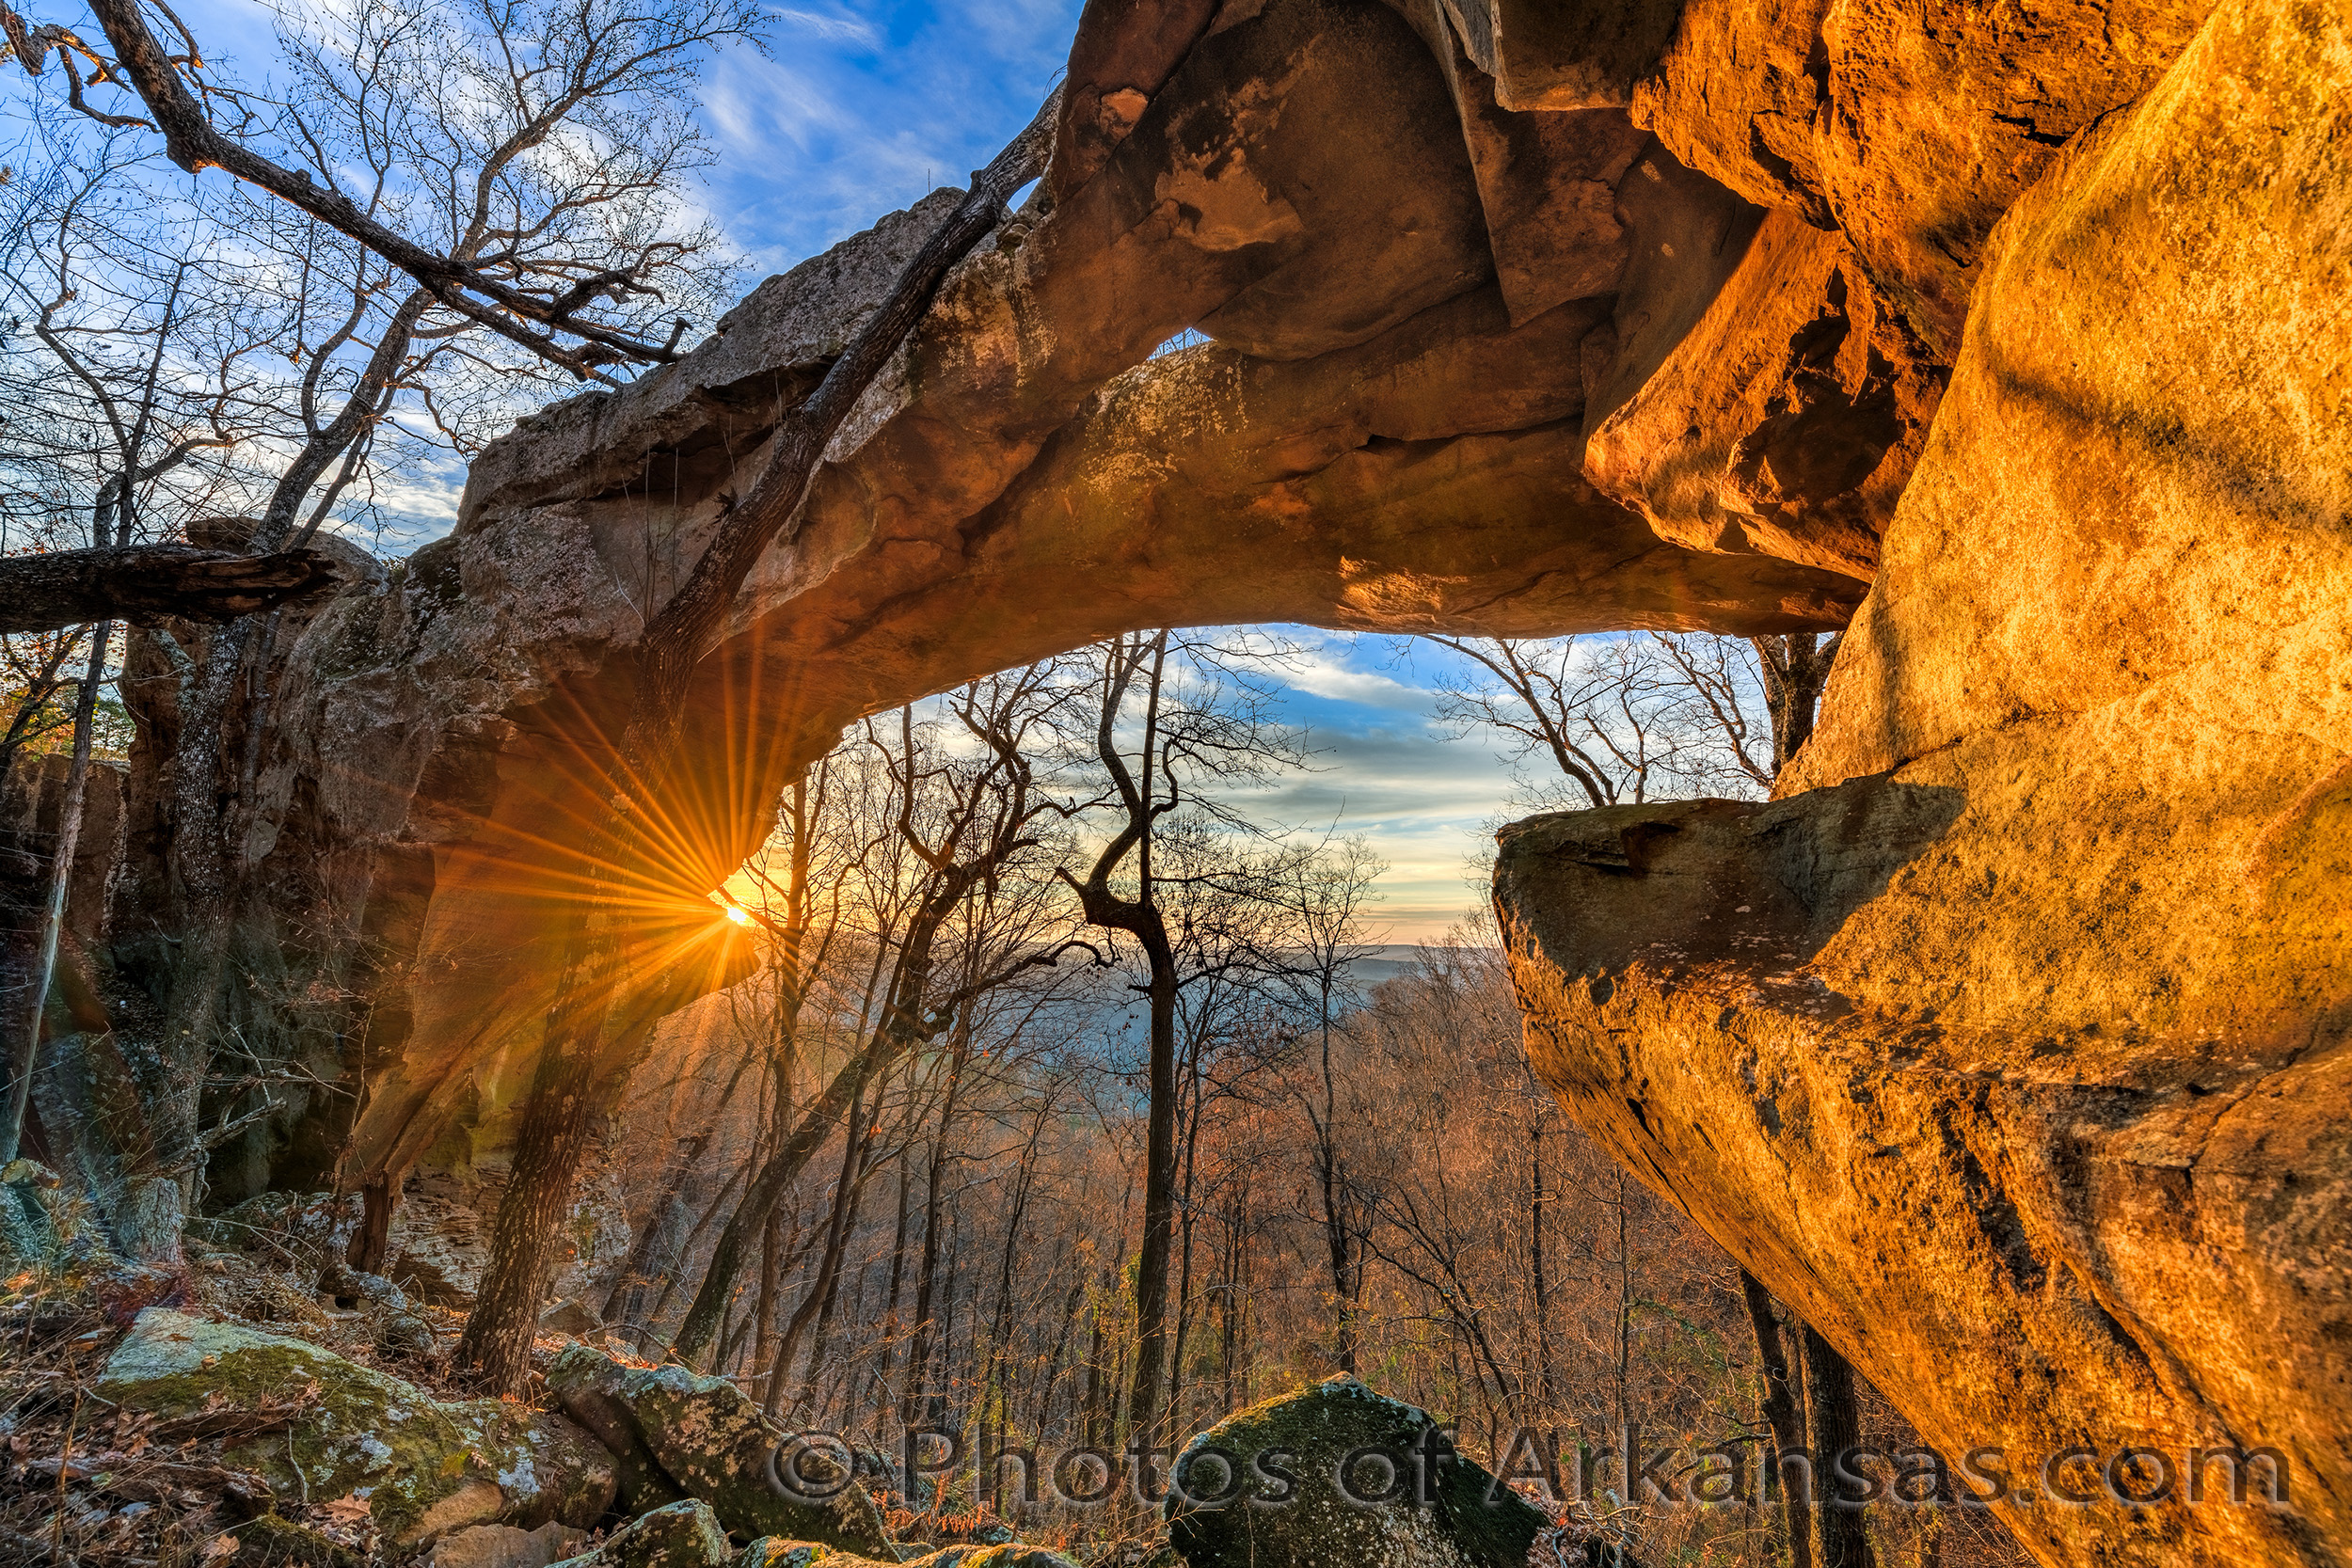
Sunrise at Rainbow Rock, Treat Arkansas. Nikon D850 and 14-24 lens
The main focus of this website is my vision of Photography of Arkansas. I am a working nature/landscape photographer and have been active now for over 25 years in Arkansas. You can find images from throughout Arkansas and for your convenience I have grouped the images in 6 categories:
- Arkansas Ozark Mountain Images (3) Galleries
- Arkansas Ouachita Mountain Images (2) Galleries
- Arkansas Coastal Plain (1) Gallery
- Arkansas Delta (1) Gallery
- Arkansas Crowley’s Ridge (1) Gallery
- Arkansas River Valley (2) Galleries
You can easily get to all of my photographic galleries by clicking on this link: http://gallery.photosofarkansas.com/
Thanks to the help of Bob Shull, a photographer based in Rogers Arkansas, I have updated all of my galleries with a much more modern look and feel. The files now load very cleanly and with no lagging. Please take some time to visit any of the galleries listed in the menu at the top of the page.
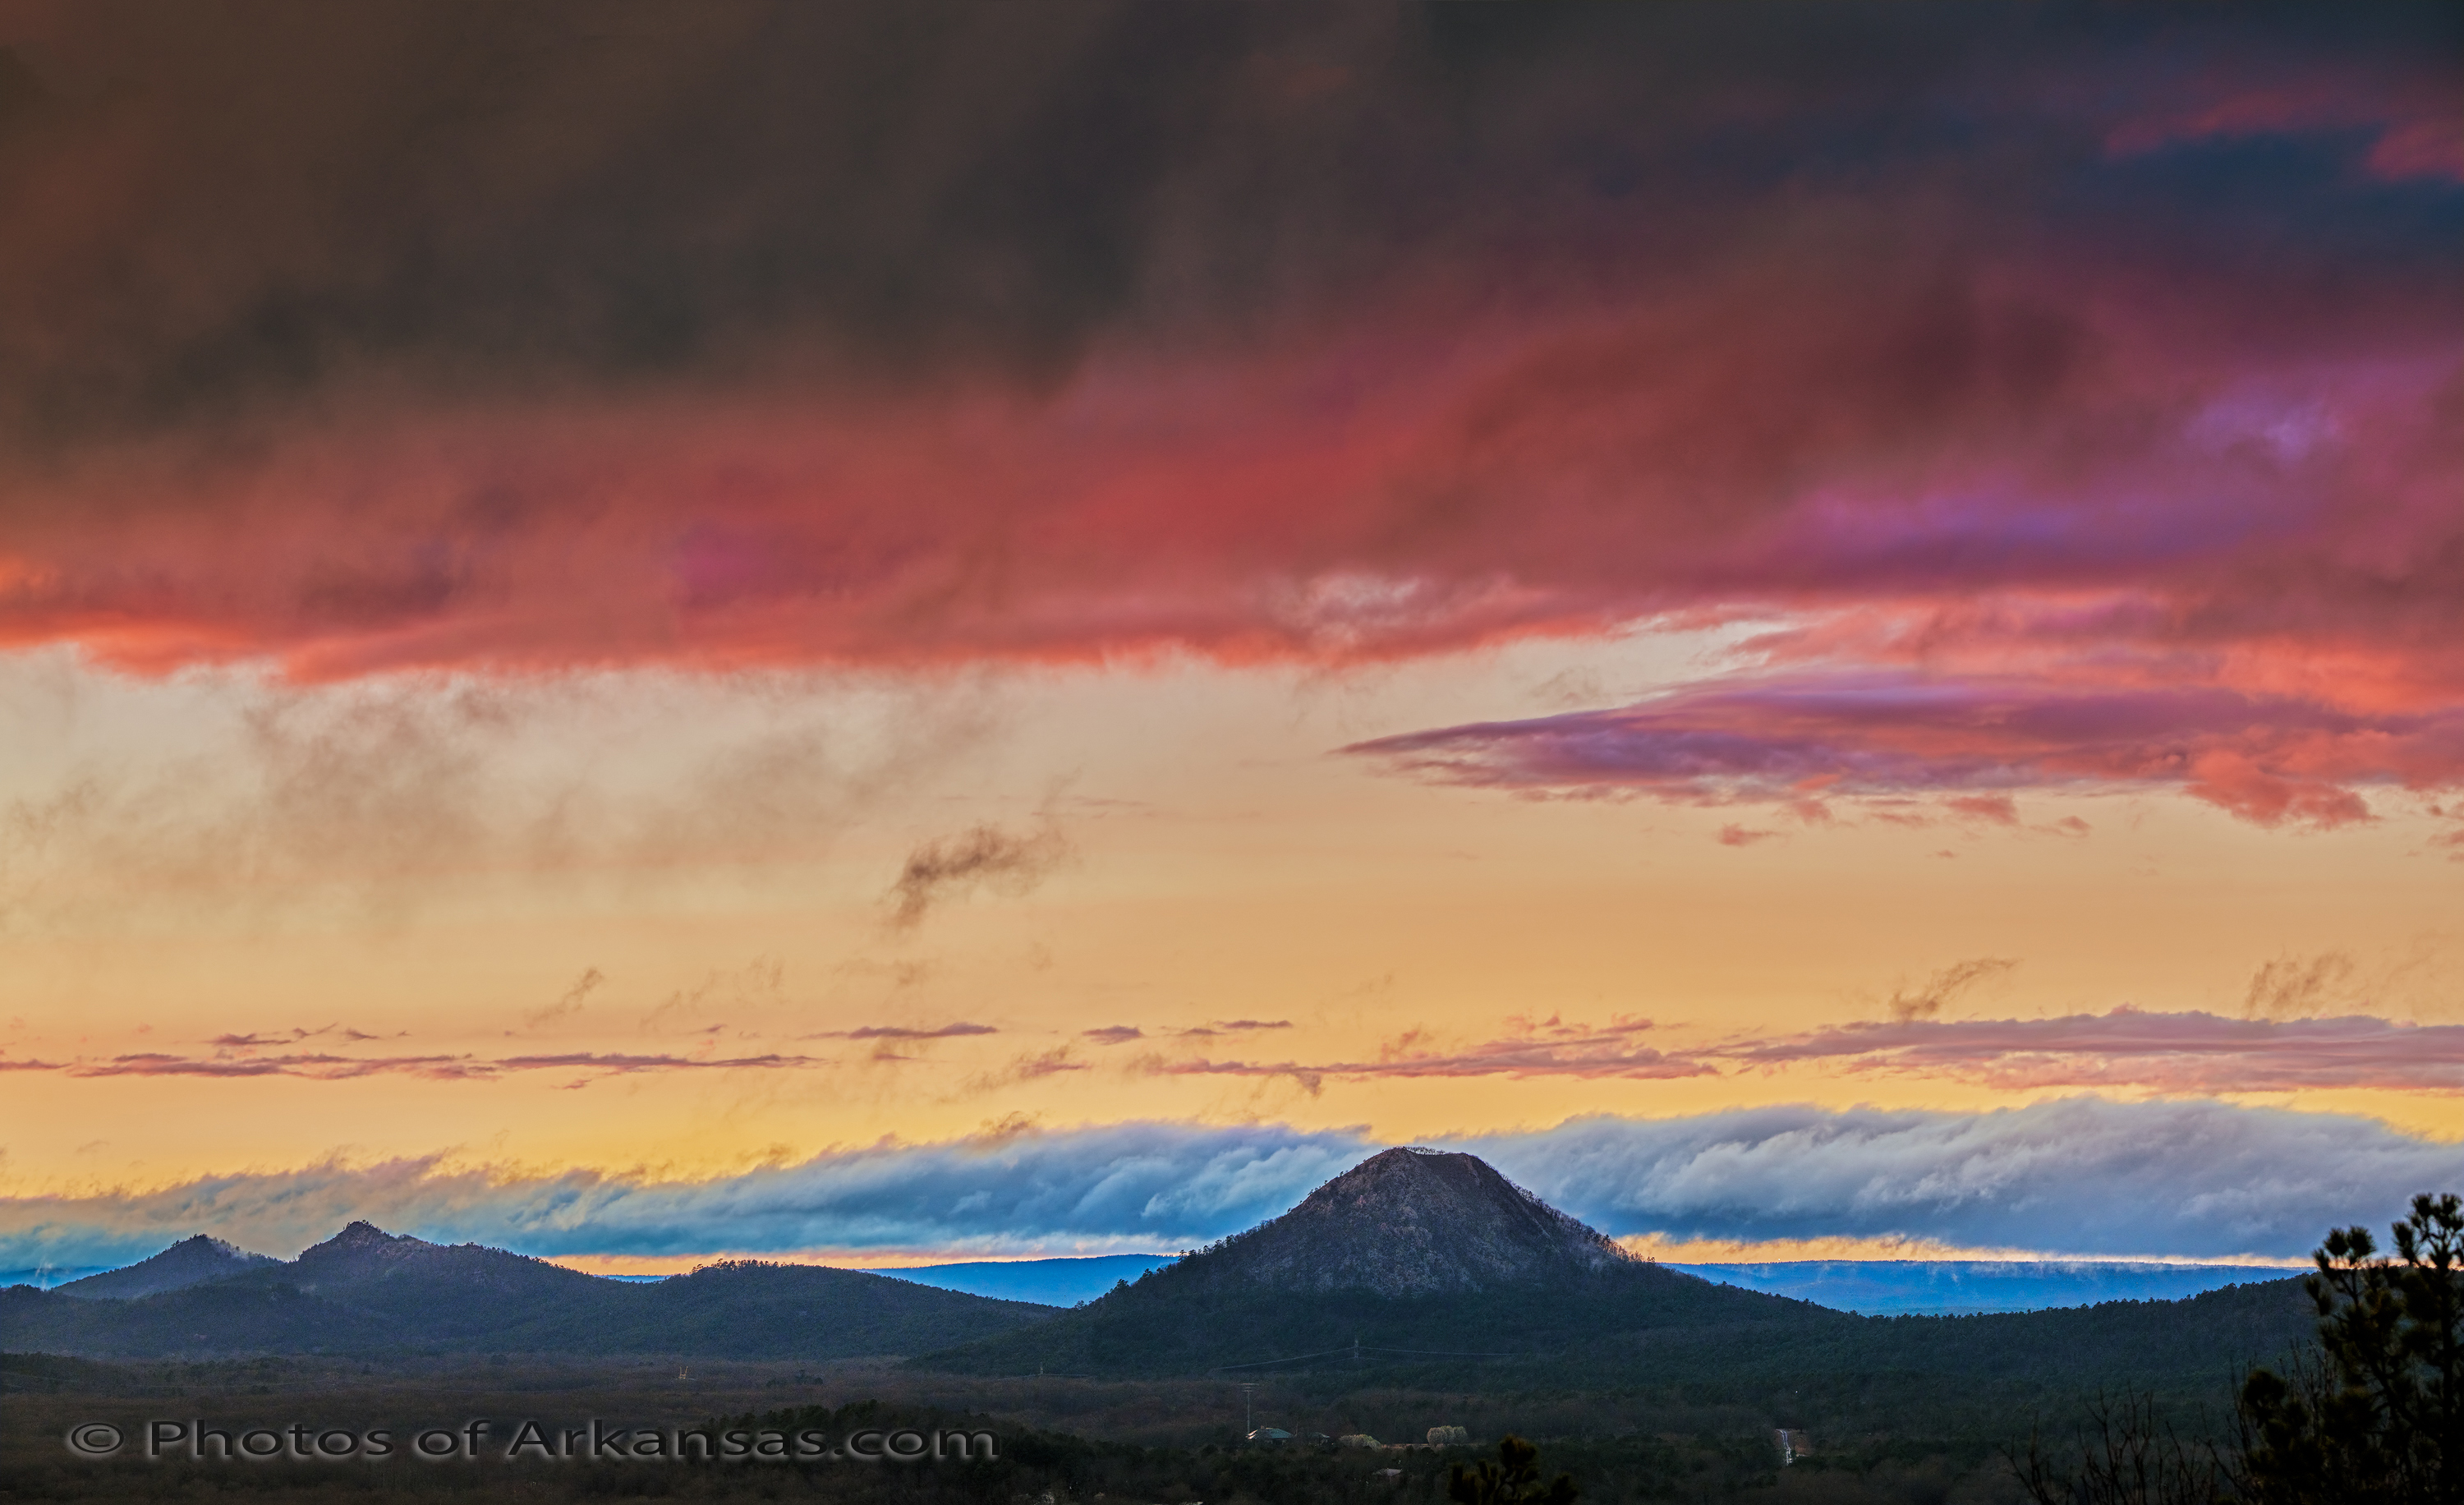
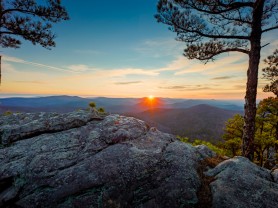
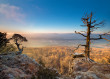
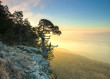
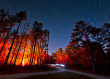
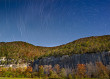
Dawn Light from Flatside Pinnacle

Dawn Light at Flatside Pinnacle
Please take sometime to look over my blog as I try to update it with recent news about Arkansas photographic subjects, equipment news, or photographic news in general. In the photographic articles section you will find detailed articles in regards to photographic techniques, shooting tips, and reviews of new products and software. Any feedback is always appreciated. Remember that when viewing any of the images in the galleries, you can select the option to purchase the image as photographic print. I specialize in large format printing on both archival paper or canvas. I can also help you with any framing questions and can provide framed photo print or stretched canvas featuring the image you have selected.
In the Featured Arkansas Photography section, you will find unique images of Arkansas. I tend to feature landscapes here, but will often throw in features of local color also.
Paul Caldwell
Featured Photography
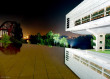
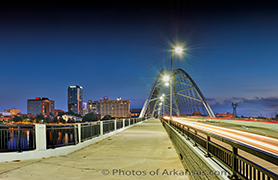 Twilight over the Broadway Bridge from the North Little Rock side........ Read More»
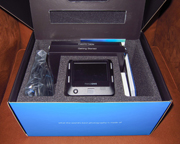
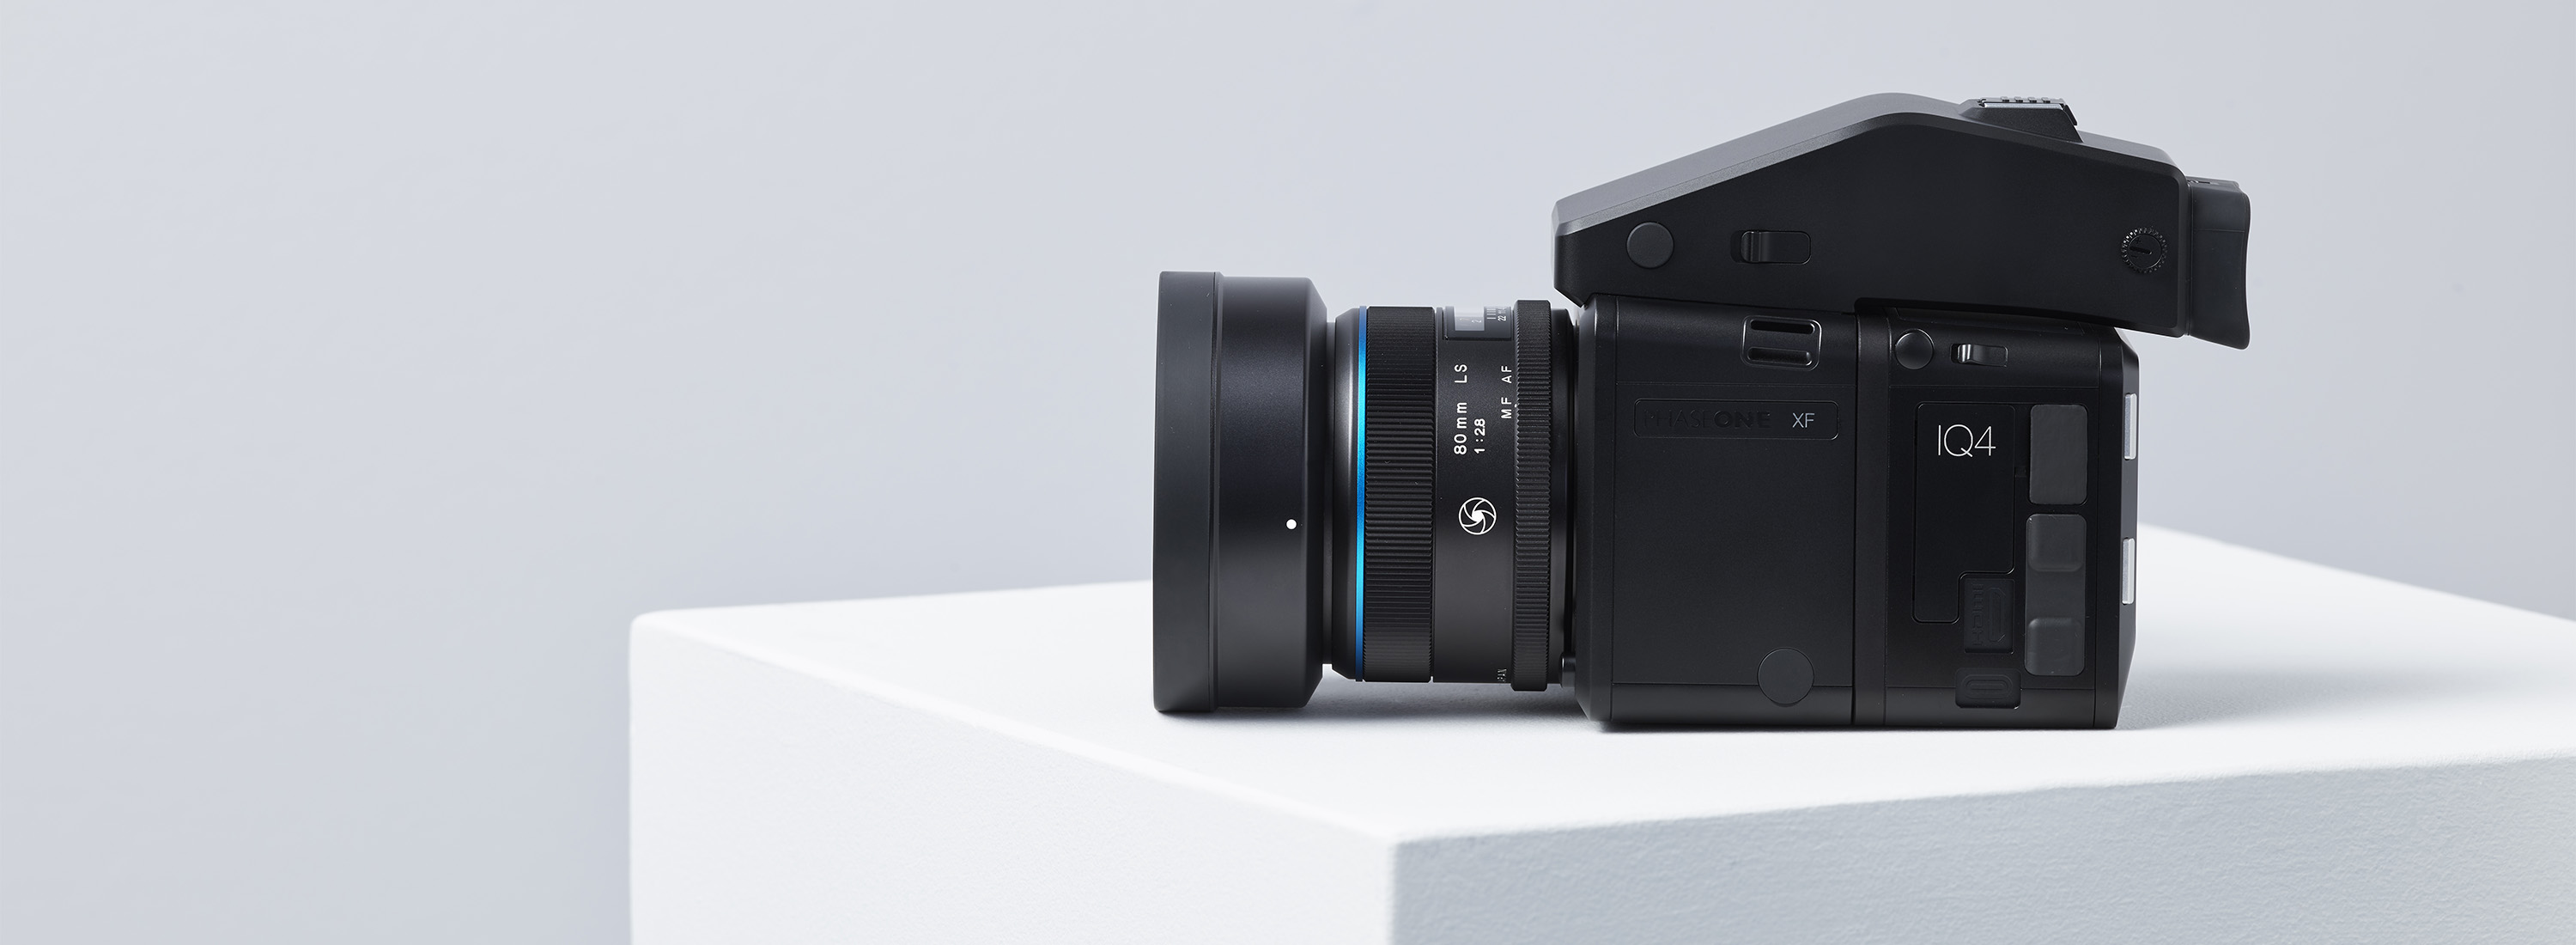 New Firmware coming for Phase One IQ4......
 Articles and Reviews
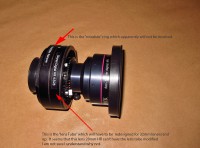
 The dynamic range of the IQ100 is quite impressive but there are some concerns...... Read More»
 From the Blog
- 01/24/24 Sunset over Walton Heights and Pinnacle Valley January 24, 2024
- 01/22/24 Looking through the Keyhole on Roark Bluff–Autumn January 23, 2024
- 01/14/24 Sunset from Pinnacle Mountain Little Rock, AR January 12, 2024
- 01/14/24 Winter View of Pinnacle Valley January 12, 2024
- 01/12/24 Fall Scene, Pinnacle Mountain January 11, 2024
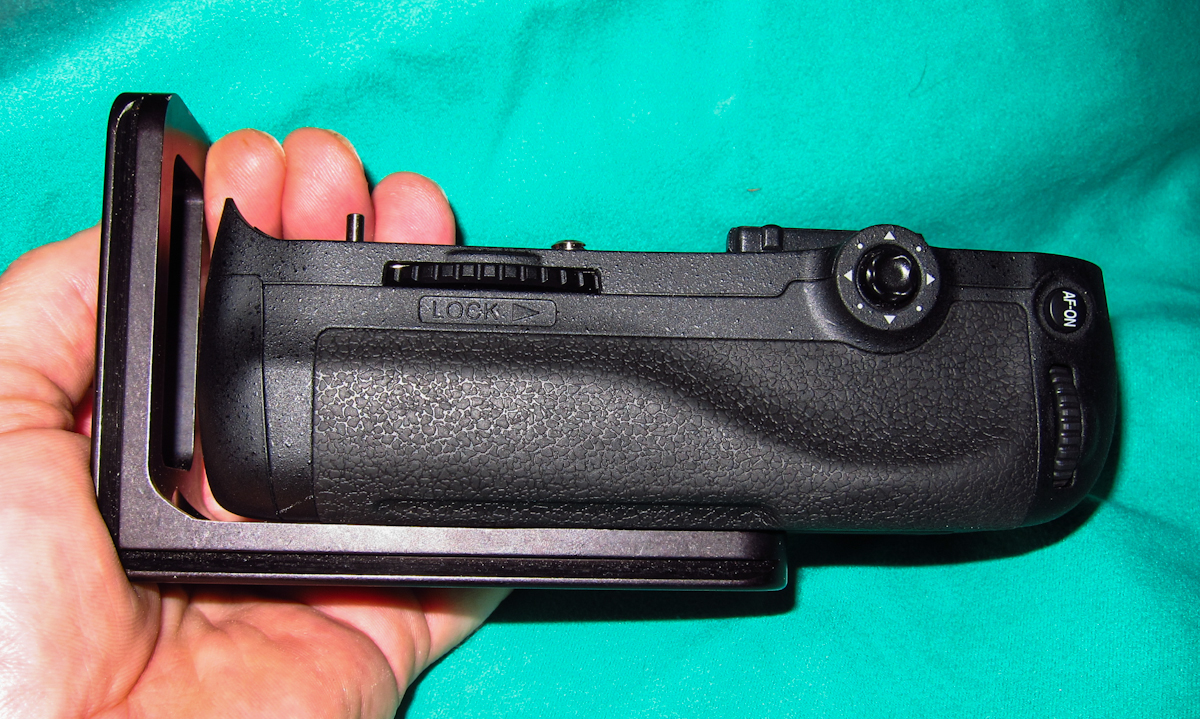
- 01/11/24 Hasselblad XCD Camera lenses, all out of stock? January 11, 2024